How to Repair an Armature Commutator (Without Ruining the Motor)
If the commutator on your armature is burned, grooved, or sparking like a sparkler, you can often bring it back to life—but only if you treat it with respect. The commutator is one of the most abused and misunderstood parts of a DC or universal motor, and a sloppy repair can kill an otherwise good machine.
This guide is written to feel like a patient technician standing next to you, walking you through what’s worth doing at home, what absolutely isn’t, and how to repair an armature commutator step by step.
Table of Contents
1. What Exactly Is an Armature Commutator?
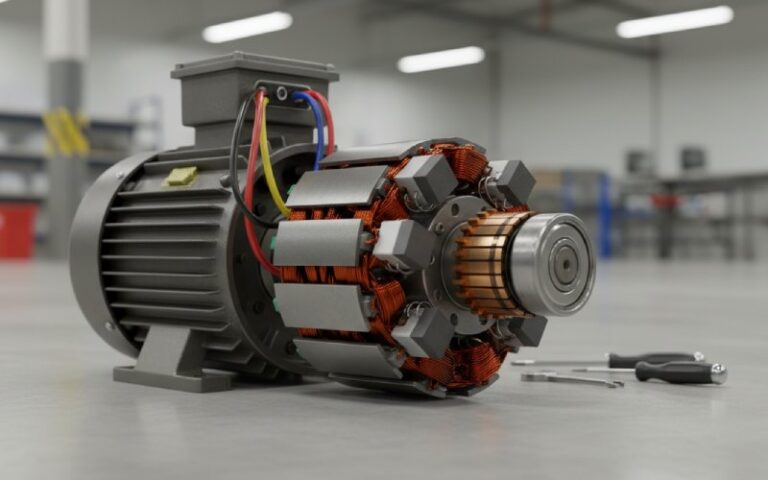
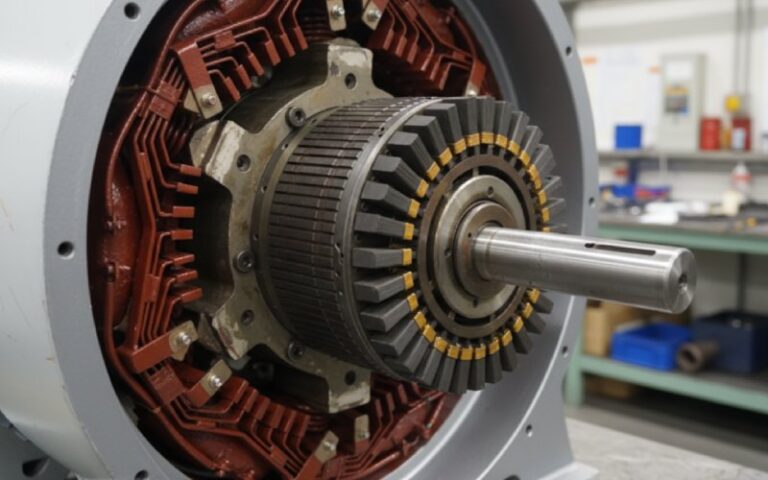
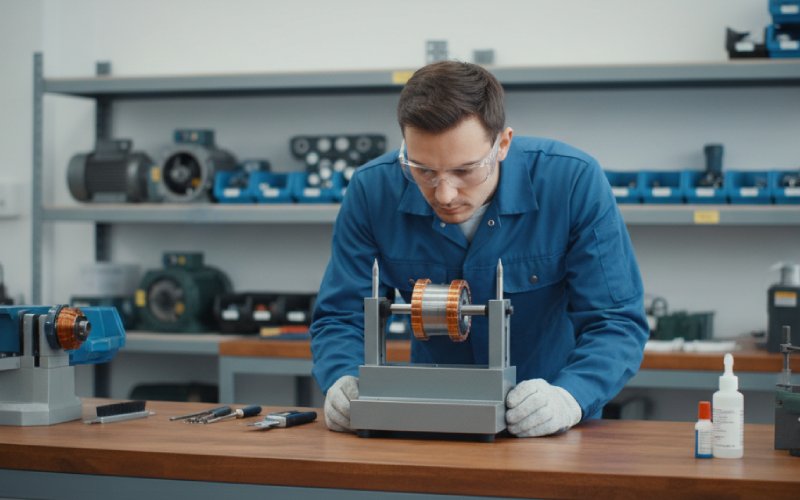
The commutator is the ring of copper segments at one end of the armature. Brushes ride on it and switch current into the armature coils at exactly the right moments so the motor can produce continuous torque. Each bar is insulated from the next with a hard material called mica, and all of it has to stay:
- round
- smooth (but not mirror-polished)
- electrically clean
- well insulated between bars
If the commutator surface gets too rough, too smooth, out of round, or the mica stands too high, brush wear, noise, and sparking shoot up, and the motor’s performance drops. Industrial guides stress that commutators need a controlled surface roughness and proper “film” for reliable brush contact.
- In simple terms, the commutator:
- Acts like a rotating switch for DC current.
- Sends power to the right coils at the right time.
- Relies on good contact with brushes and good insulation between bars.
- Fails when it’s uneven, dirty, overheated, or mechanically damaged.
2. Safety First – When You Should Not DIY This
Before we touch a tool, let’s be clear: some commutator work is for home shops; some is definitely for professional rewind/repair shops.
If you’re working on small power tools, hobby motors, automotive starters, or low-voltage DC motors, careful DIY repairs are often reasonable. On big industrial motors, traction motors, or anything tied to critical systems, bad commutator work can mean serious downtime, fires, or injury.
- Hard stop: don’t DIY commutator repair if:
- The motor is part of safety-critical equipment (hoists, elevators, medical gear, etc.).
- The machine is high voltage or very high power and you’re not a trained motor technician.
- The commutator is loose on the shaft, wobbling, or badly burned/blackened all the way around.
- You see obvious winding damage (burned coils, melted insulation, strong burnt smell).
- You don’t have any way to support the armature accurately (lathe, V-blocks, or similar).
- The motor is part of safety-critical equipment (hoists, elevators, medical gear, etc.).
3. Is Your Problem Actually the Commutator?
Many “commutator problems” are actually brush problems, spring issues, contamination, or load issues. Modern maintenance articles on DC motors and brushes repeatedly point out that improper brush alignment, wrong brush grade, or weak springs cause sparking and uneven wear just as often as the commutator itself.
So it’s smart to ask: Is the commutator the cause, or a victim?
- Symptoms that often are commutator-related:
- Deep grooves, ridges, or obvious flat spots on the commutator surface.
- Visible high or low bars when you slowly rotate the armature.
- Persistent sparking only at certain armature positions.
- A rough, streaked, or burnt commutator surface that stays bad even with new brushes.
- Deep grooves, ridges, or obvious flat spots on the commutator surface.
- Symptoms that are often brush or system issues instead:
- Brushes chipped, cracked, or worn at an angle.
- Very uneven brush spring pressures between holders.
- Oil, grease, or dust contamination everywhere inside the motor.
- Motor overloaded, misaligned, or mechanically vibrating.
- Brushes chipped, cracked, or worn at an angle.
You almost always want to fix brush and contamination issues first, then see how much commutator work is still needed.
4. Tools & Materials You’ll Need
You don’t need a million-dollar shop to improve a small commutator, but you do need a way to support the armature straight and a handful of sensible tools. Professional guides recommend machining and then finishing with special stones or abrasives, rather than random sandpaper alone, to achieve the right surface.
- Typical tools and supplies:
- Lathe, drill press with V-blocks, or another safe way to spin the armature true.
- Fine commutator stone or very fine emery (if a stone isn’t available).
- Small puller for bearings (if they block access).
- Non-metallic scraper or plastic/wood pick for cleaning slots.
- Small undercutting tool or fine hacksaw/jewelers saw blade (for mica undercutting).
- Insulation-safe solvent (e.g., electrical cleaner) and lint-free rags.
- Multimeter for basic continuity and insulation checks.
- New brushes (correct size and grade) and, if needed, new brush springs.
- Lathe, drill press with V-blocks, or another safe way to spin the armature true.
5. Step-by-Step: Repairing an Armature Commutator
We’ll walk through a conservative, best-practice style process similar to what professional motor maintenance references describe: clean → inspect → machine/true → undercut → finish → brush/run-in.
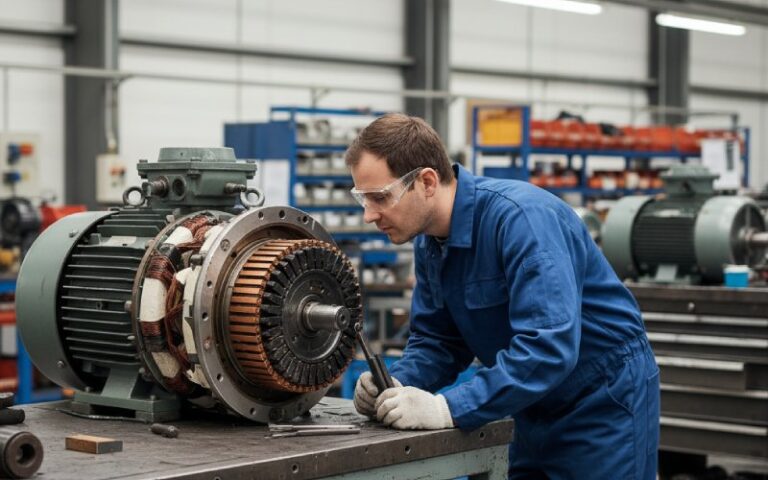
5.1 Step 1 – Preparation & Disassembly
Get the armature out where you can actually see and measure the commutator.
- Prep steps:
- Disconnect power, lock out any mains supply, and discharge capacitors if present.
- Take photos of wiring, brush positions, and terminal connections before disassembly.
- Remove brushes so they don’t snag or chip during armature removal.
- Carefully remove end bells and bearings as required, supporting the rotor to avoid bending the shaft.
- Label parts and keep shims, washers, and spacers in order.
- Mount the armature between centers, in a lathe, or in V-blocks so you can slowly rotate it.
- Disconnect power, lock out any mains supply, and discharge capacitors if present.
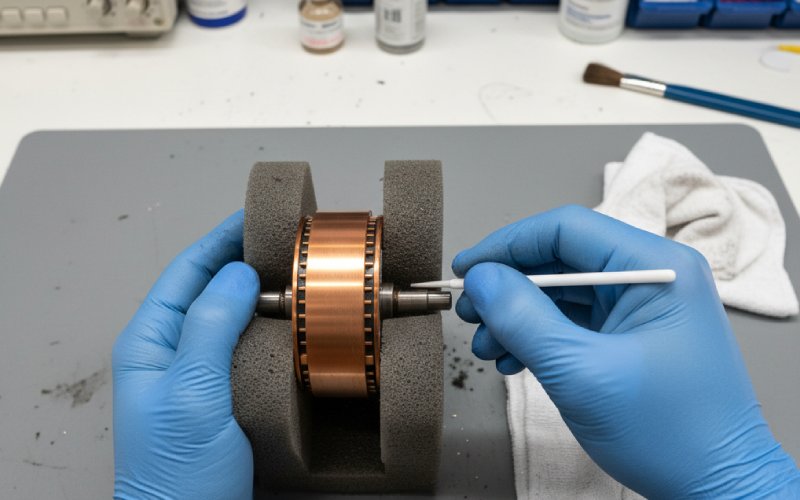
5.2 Step 2 – Cleaning the Commutator Surface
Now you want to see what you’re dealing with, not a layer of carbon and oil.
Industrial guidance on commutator maintenance emphasizes first removing deposits with a suitable solvent, then using non-aggressive abrasives or commutator stones to restore a clean, uniform surface.
- Cleaning tips:
- Use an electrical cleaner or other non-residue solvent; wipe until rags come off mostly clean.
- Avoid scraping the copper with metal tools; use wood or plastic to lift stubborn deposits.
- If there’s light scoring, a fine commutator stone applied gently while rotating the armature helps even things out.
- Always move the abrasive in the direction of rotation, not across the bars.
- Blow out dust with low-pressure, dry compressed air—away from your face and lungs.
- Use an electrical cleaner or other non-residue solvent; wipe until rags come off mostly clean.
5.3 Step 3 – Inspecting for Damage (Before You Cut Anything)
With the surface clean, take your time inspecting. Reference charts from carbon brush and motor manufacturers list typical commutator defects: out-of-round, high/low bars, flats, high mica, and loose segments.
Slowly rotate the armature and look from several angles. Use your fingernail, a straightedge, and ideally a dial indicator to check runout.
- Here’s a quick interpretation table:
| Symptom you see/feel | What it usually means | Typical fix level |
| Light, shallow grooves all around | Normal wear, maybe dirty environment | Light stone/polish may be enough |
| One or two bars slightly higher (high bar) | Mechanical or thermal distortion, loose bar risk | Professional best, light skim at minimum |
| Obvious flat spot on a section | Past arcing or mechanical damage | Skim/turn to restore roundness |
| Surface heavily burned or black all around | Overload, chronic sparking, likely deeper issues | Usually pro shop territory |
| Mica level with or above bar surface | “High mica” – brushes riding on mica, chattering | Undercutting required |
| Bars loose or can move with pressure | Structural failure of commutator | Stop – pro repair or replacement |
After this, decide honestly: are you lightly restoring a mostly healthy commutator, or trying to resurrect a dead one? Be conservative.
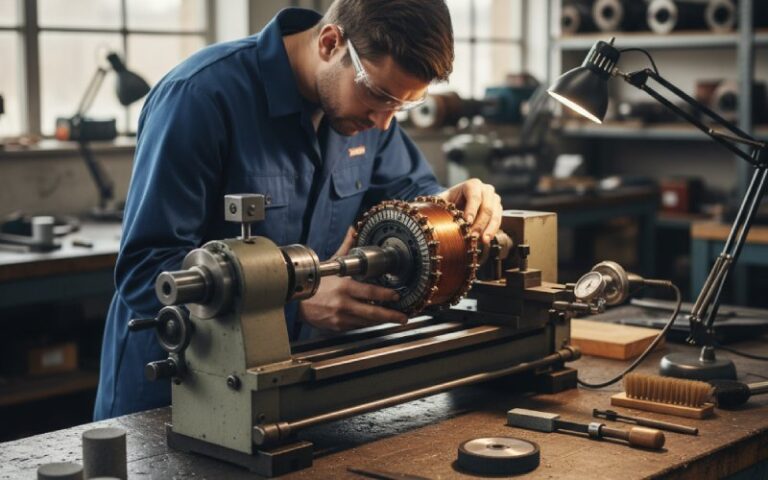
5.4 Step 4 – Truing / Turning the Commutator
If the commutator is out of round, has flats, or deep grooves, you’ll need to true it. Standard DC motor maintenance procedures describe a sequence of rough turning (if needed), undercutting, then finishing and grinding the commutator, staying above the manufacturer’s minimum diameter.
- Golden rules when turning/truing:
- Support the armature very rigidly between centers or with proper chucks and steady rest.
- Take light cuts, just enough to clean the surface—don’t chase perfection at the cost of diameter.
- Use a sharp tool with correct geometry for copper (small rake, very smooth finish).
- Stop as soon as all bars clean up with minimal material removed.
- After turning, expect to see visible tool marks; these are later blended with stones/abrasives.
- Check runout with a dial indicator; aim for as low as practical for the motor (industrial references often target a few hundredths of a millimeter on small to medium machines).
- Support the armature very rigidly between centers or with proper chucks and steady rest.
If you don’t have a lathe, you may be limited to very light stoning to clean light wear on a relatively round commutator. Anything seriously out of round really does deserve proper machining.
5.5 Step 5 – Undercutting the Mica
Between each copper bar is mica insulation. Mica is much harder than copper and does not wear down at the same rate. If its surface rises to the same level as the copper, brushes can ride on the mica instead, causing noise, streaking, and rapid brush wear. Technical guides therefore recommend that mica be cut slightly below the copper surface and kept that way.
Professional armature repair references suggest the slot depth should generally be around 1–1.5 times the slot width, or on the order of a few tenths of a millimeter below the bar surface for many machines, and show examples of correct undercut depth (e.g., about 0.050″ on some larger DC machines).
- Undercutting dos and don’ts:
- Do use a narrow blade or undercutting tool that fits the slot snugly without cutting copper.
- Do keep the blade straight so the slot sides remain parallel, not V-shaped.
- Do undercut to a consistent depth just below the newly machined copper surface.
- Don’t gouge into the bar edges; that creates stress risers and brush chipping issues.
- Don’t leave loose mica crumbs; clean slots carefully with a soft brush or air.
- Do slightly break the sharp corners at the bar edges after undercutting (next step).
- Do use a narrow blade or undercutting tool that fits the slot snugly without cutting copper.
Take your time: clean, consistent slots are a big part of a stable, low-sparking commutator.
5.6 Step 6 – Deburring, Chamfering & Final Surface Finish
After turning and undercutting, the commutator edges may be sharp, and burrs may hang over the slots. Left alone, these chew up brushes and cause noise.
Armature repair tips recommend chamfering bar edges, removing burrs from slots, and then finishing the surface with a suitable stone to achieve the right roughness.
- What to do at this stage:
- Gently break the sharp edges of each bar with a fine stone or a special chamfering tool.
- Make sure no copper burrs bridge across the slots; clean again with a small non-metallic pick and brush.
- With the armature rotating slowly, use a fine commutator stone to blend machining marks into a smooth, satin-like finish.
- Clean thoroughly afterwards to remove all abrasive dust.
- Gently break the sharp edges of each bar with a fine stone or a special chamfering tool.
- A “good” commutator finish will:
- Look evenly colored, without streaks or burnt patches.
- Feel smooth to the fingertip but not mirror-glossy or slippery.
- Show crisp, clean slots with mica just slightly recessed.
- Look evenly colored, without streaks or burnt patches.
5.7 Step 7 – Brushes: Don’t Skip This Part
You can have a perfect commutator and still have a terrible motor if the brushes and holders are wrong.
Recent and classic brush guides both emphasize: correct brush grade, proper spring pressure, good seating, and clean brush holders are critical to commutator life.
- Brush checklist:
- Replace brushes that are chipped, cracked, or worn short.
- Make sure the new brushes are the correct grade for the motor’s duty (too hard or soft increases wear or sparking).
- Clean brush holders so brushes slide freely; no binding or cocking.
- Check and equalize spring pressure; uneven pressure causes uneven wear and sparking.
- Seat new brushes to the commutator radius (using a seating stone or fine abrasive paper wrapped to the curvature) so most of the brush face contacts the surface.
- Confirm each brush’s flexible lead is intact and not stiff or frayed.
- Replace brushes that are chipped, cracked, or worn short.
This step alone often transforms a “problem motor” into a good one.

6. Reassembly & Run-In Procedure
Now that the commutator and brushes look happy, it’s time to reassemble and let everything bed in.
Reassembly is mostly the reverse of disassembly, but pay attention to alignment and cleanliness:
- Keep dust and grit away from bearings and windings.
- Reinstall bearings carefully; don’t hammer on the shaft.
- Return brush holders to their original angular positions if they were adjustable.
- Run-in steps for the first start:
- Spin the motor briefly with no load, watching for abnormal vibration or noise.
- Observe the brushes through inspection windows if available: sparks should be small, even, and not “tailing” far around the commutator.
- Let the motor run at light load for a while so brushes and commutator film can stabilize.
- Periodically check temperature and smell; excessive heating or strong burnt odor means you should stop and re-inspect.
- After some hours of operation, recheck brush wear and spring tension and clean out any dust.
- Spin the motor briefly with no load, watching for abnormal vibration or noise.
A properly repaired and run-in commutator will usually settle into smooth operation with minimal sparking and even brush wear.
7. When to Walk Away and Call a Motor Shop
Professional repair shops don’t just have better tools; they also have test equipment and experience to catch issues that are invisible to the eye, like inter-turn shorts or loose riser connections. Common fault charts from motor manufacturers list problems such as loose bars, riser connection failures, and armature winding faults that demand specialized repair.
If you see any of these, stop treating it as a home project:
- Time for a pro if:
- Commutator is loose on the shaft or segments can move relative to each other.
- Burn marks track deep between bars, suggesting internal short circuits.
- The armature shows clear winding damage (blackened coils, melted insulation).
- You must remove so much copper to clean the surface that diameter is near or below spec.
- The motor still sparks heavily and overheats after careful repair and new brushes.
- The motor is large, expensive, or mission-critical, and you’re not absolutely confident in your measurements.
- Commutator is loose on the shaft or segments can move relative to each other.
Most shops can undercut, rewind, and reband an armature far more economically than replacing a large industrial motor—and with a warranty.
8. Quick FAQ: Common “Is This Okay?” Questions
Let’s wrap up with a few questions people regularly have when staring at a tired commutator.
“Can I just sand the commutator instead of turning it?”
Lightly, yes—if it’s already fairly round and you’re only removing minor scoring or glaze. For real out-of-round conditions or flats, proper machining is the correct fix; sanding alone tends to follow the existing shape.
“How often should mica be undercut?”
There’s no fixed schedule, but whenever resurfacing brings the copper down closer to the mica—and especially if mica is level with or proud of the bar surface—it should be undercut again. High mica is a known source of brush noise and wear.
“Is a little sparking normal?”
There’s no fixed schedule, but whenever resurfacing brings the copper down closer to the mica—and especially if mica is level with or proud of the bar surface—it should be undercut again. High mica is a known source of brush noise and wear.
“Do I have to replace brushes every time I touch the commutator?”
Not always, but if you’ve significantly changed the commutator surface (turning/undercutting) or the existing brushes are half-worn or worse, replacing and properly seating them is cheap insurance.
Final Thoughts
Repairing an armature commutator is a mix of art and geometry: you’re trying to give the brushes a clean, round, properly insulated surface to ride on, while respecting the original dimensions of the machine. If you:
- clean carefully,
- inspect honestly,
- take light, controlled cuts,
- undercut and finish the surface properly, and
- pay real attention to brushes and springs,
you’ll be doing more than many competitors’ “quick fix” guides—and giving your motor a genuinely better chance at a long second life.