How to Clean a DC Motor Commutator: A Field Guide for Maintenance Teams
This article is about how to clean a DC motor commutator in a plant, with limited downtime, without turning a healthy machine into a repair job.
Table of Contents
1. First question: does this commutator actually need cleaning?
A lot of commutators get “cleaned” when they mainly need to be left alone.
Carbon brushes build a film on the copper surface. That film is mostly controlled wear: carbon dust, a bit of copper, moisture, and environment, working together. A non-uniform, blotchy brown film is usually acceptable and often normal.
Problems start when:
- The film turns thick and patchy with streaks and visible metal transfer.
- There’s clear grooving, pitting, copper drag, or bar burning.
- Sparking at the brushes is visible and persistent under rated load.
- Carbon dust has migrated and is now collecting everywhere in the motor housing.
So before reaching for solvent or stones, do a quick check:
- Is the motor actually showing symptoms? (heat, smell, noise, visible sparking, unstable speed)
- Is the film smooth to the touch, without raised ridges? If yes, heavy cleaning might be unnecessary.
- Is the problem maybe brush grade, spring pressure, or alignment instead? Many commutator issues come from brushes, not dirt.
If the answer is “yes, this thing is dirty or damaged”, then carry on.
2. Decide your cleaning level: match method to condition
Here’s the shortcut summary before we walk through the steps.
Cleaning methods vs commutator condition
| Condition on DC commutator | Typical cause | Recommended approach | Notes / risks |
|---|---|---|---|
| Light dust, dry film, no visible damage | Normal brush wear | Vacuum, low-pressure dry air, lint-free cloth | Avoid blowing dust deeper into windings. |
| Slight greasy film, fingerprints, oil mist | Lubricant mist, handling, environment | Lint-free cloth, then cloth dampened with non-chlorinated solvent, brushes removed | Do not flood the motor with solvent; wipe only. |
| Thick carbon film, some streaking but no grooves | Long intervals between cleaning | Medium “seating” stone or fine non-conductive abrasive, very light touch | Focus on restoring even film, not bare shiny copper. |
| Grooves, copper drag, bar burning, flakes | Overloading, wrong brush grade, poor setup | Light stone / very fine abrasive + later skim cut in shop if needed | This is repair work; expect follow-up machining. |
| Heavy oil and conductive sludge inside motor | Leaks, aggressive environment | Full shutdown, partial disassembly, vacuum, careful solvent wiping of parts outside motor | Plan real downtime; internal soak cleaning is high risk. |
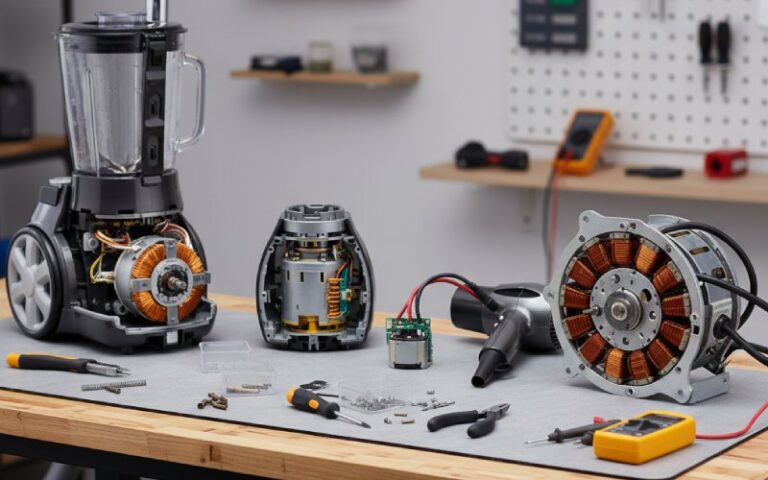
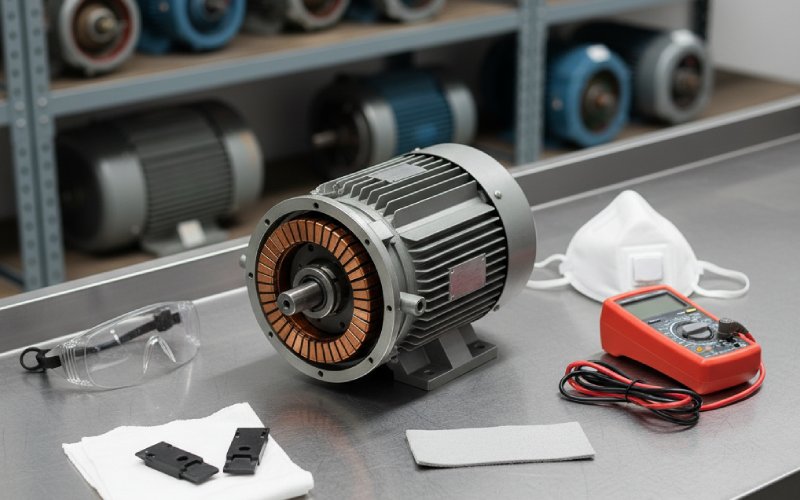
3. Preparation: make the motor safe and observable
Short version, no drama:
- Lockout/tagout and verify zero energy.
- Remove access covers so you can clearly see:
- Commutator surface
- Brush faces and holders
- Brush springs and cabling
- Record baseline: a quick photo of the commutator and brushes now is useful for trend comparison later.
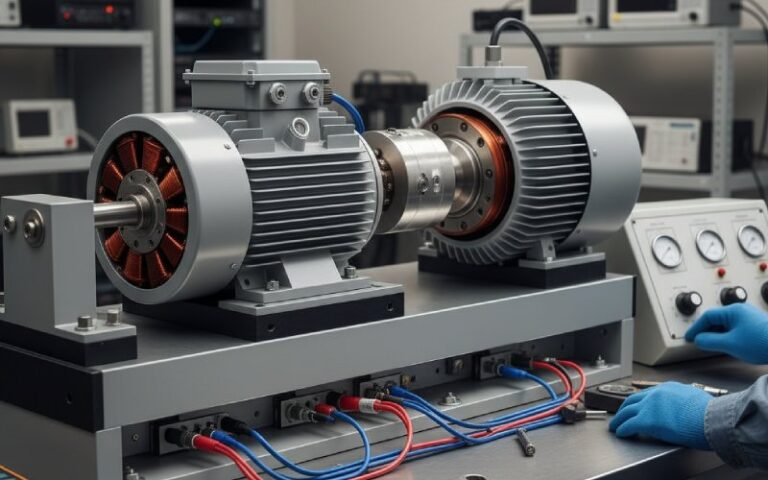
If this is a critical production motor, also note:
- Brush spring pressure (even approximate).
- Brush holder clearance to commutator (distance “d” typically around 2.5–3 mm on many machines).
You don’t need a lab. Just repeat the same checks every time.
4. Step-by-step: how to clean a DC motor commutator in the field
Step 1 – Remove brushes and protect them
You don’t want solvent or grit embedded in carbon.
- Mark brush positions if you will reuse them (top/bottom or rotation direction).
- Lift brushes out of the holders.
- Store them in a clean, dry container away from your cleaning area.
Many brush and commutator guides explicitly warn to remove all brushes before using solvents, because the carbon acts like a sponge.
Step 2 – Dry cleaning of the motor interior
Start gentle.
- Use a vacuum with a soft brush attachment to remove loose dust from:
- Commutator housing
- Stator frame surfaces
- Brush holders and nearby structures
- Use dry, low-pressure compressed air only to blow dust out of the motor, not further into it.
One DC motor maintenance paper recommends annual “heavy” cleans with vacuum and light solvent wiping, and more frequent light cleans, mainly to control loose carbon dust that can cause tracking and overheating.
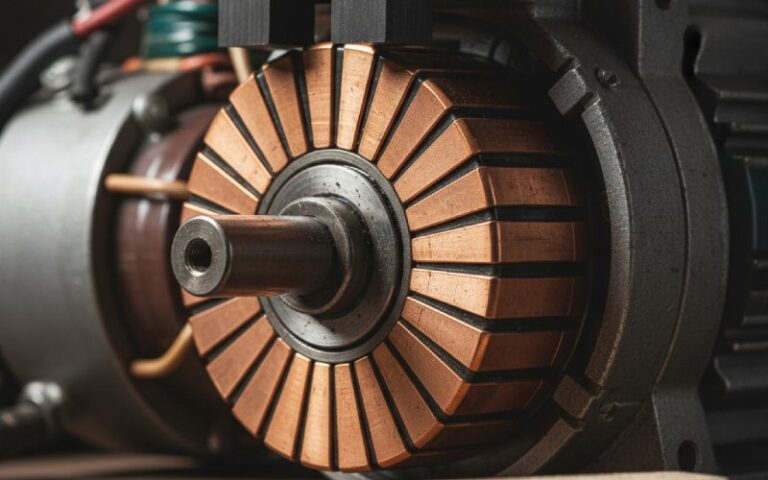
Step 3 – Inspect the commutator surface in detail
Now that dust is out of the way, look closely:
- Surface feel:
- Smooth and slightly polished = generally okay.
- Rough, ridged, or grooved = potential machining or stone work later.
- Film:
- Thin, even or blotchy film = usually acceptable.
- Thick, lifted patches, streaked with bright metal = watch for metal transfer and arcing.
- Bars:
- Check for copper drag, burnt bar edges, or flaking.
If the commutator has only light dust or a slightly greasy fingerprint-type film, jump to the “light clean” method and skip abrasive work.
5. Light clean: dust and light grease only
5.1 Dry wipe
For a slightly greasy or dusty commutator:
- Rotate the rotor slowly by hand.
- Hold a clean, lint-free cloth gently against the commutator while it turns.
- Replace the cloth as it loads up.
Guides from motor suppliers recommend exactly this: thorough wiping with a dry cloth as the first option for slightly greasy commutators.
5.2 Solvent wipe (if needed)
If a greasy film remains:
- Prepare a non-chlorinated electrical solvent that leaves no residue.
- Lightly dampen the cloth (do not soak).
- Wipe the commutator surface as you slowly rotate it.
- Allow full evaporation before reassembly.
Key warnings repeated in several maintenance bulletins:
- Remove all carbon brushes before solvent cleaning.
- Do not flood or soak the motor in solvent; this can draw carbon and conductive particles deeper into insulation and crevices.
If the commutator now looks smooth, with a thin film instead of sludge, you’re probably done with cleaning. The rest is brush and mechanical setup.
6. Medium clean: thick film or minor streaking
Sometimes the film is too thick or uneven, and wiping isn’t enough, but the commutator isn’t yet worn into grooves.
For that middle situation:
6.1 Use a “seater stone” or similar mild abrasive
Many DC motor maintenance notes recommend a medium, soft white abrasive stone (often called a seater stone) to remove excess film and restore a uniform surface, while avoiding aggressive copper removal.
Basic method:
- Ensure brushes are removed.
- Bring the stone lightly against the commutator surface.
- Rotate the rotor slowly (either by hand or jog mode at very low speed if your procedures allow and it’s safe).
- Keep pressure low and even. You’re cleaning the film, not re-machining the copper.
- Vacuum and blow dry air to remove abrasive residue afterwards.
Stoning is often recommended only when there’s film-related trouble or minor surface fault; it should not be a weekly habit. Too much abrasive work shortens commutator life.
6.2 About sandpaper and emery cloth
The internet is full of conflicting advice. A few practical points from field electricians and brush suppliers:
- Regular sandpaper sheds conductive grit and can embed into brushes and copper. This promotes wear and tracking.
- Emery cloth is often discouraged on the commutator surface itself for the same reason.
- If you must use an abrasive:
- Use very fine, non-conductive material.
- Clean up thoroughly with vacuum and air afterwards.
- Treat it as a temporary remedy, not standard maintenance.
Better option for most shops: use proper commutator/seater stones specified for electrical machines.
7. Heavy clean: grooves, copper drag, bar burning
Once you see:
- Clear grooves under the brushes
- Bars with burnt trailing edges
- Copper flakes or drag marks
you’re already in “repair plus cleaning” territory, not just housekeeping.
In this case:
- Document the damage with photos.
- Clean the area (vacuum + light wiping) so inspection is honest; dirt can hide real damage.
- Use a suitable stone or tool only to:
- Remove burrs that could cut brushes.
- Knock down raised metal that would rapidly worsen wear.
- Plan for:
- Skim cut and re-turning of the commutator.
- Checking and cleaning of mica undercut.
- Review of brush grade and spring pressure.
Cleaning alone won’t fix copper drag or bar burning; it just stops the situation from slipping further before proper machine shop work.
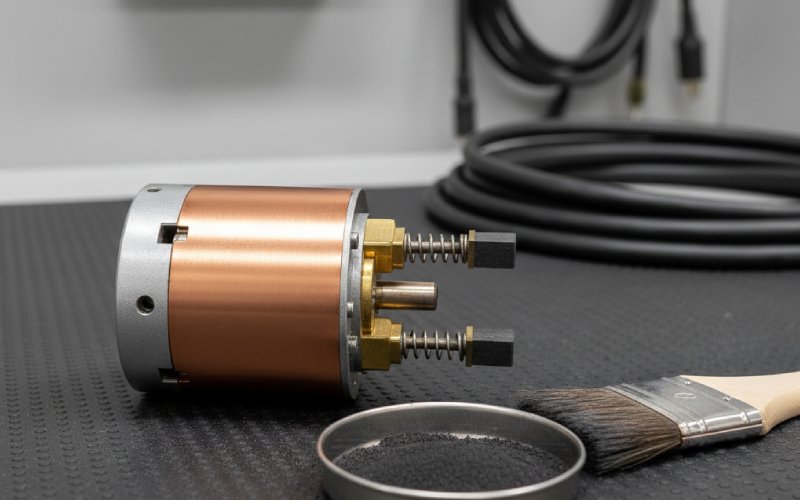
8. Cleaning the undercut and slots between bars
Carbon and copper dust can pack into the mica undercut between commutator bars. Over time this can promote tracking and spark paths.
Standard approach from commutator maintenance notes:
- After surface cleaning, use:
- Dedicated slot scrapers or files, or
- A fine non-metallic tool sized to the undercut width
- Work around the commutator, clearing debris from each slot.
- Follow up with compressed air (“air curing” type process) to eject loosened particles while the commutator is rotated.
- Vacuum again.
Do not deepen or widen the undercut beyond manufacturer tolerances; you are just clearing contamination.
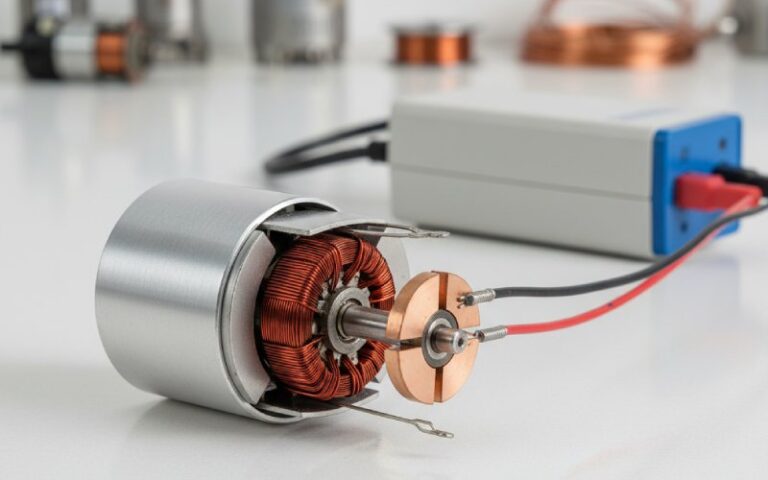
9. Reinstalling brushes and seating them after cleaning
A clean commutator with badly seated brushes will still run poorly.
Key points (in short form) from several brush and commutator guides:
- Check brush holders
- Brushes must move freely but without excessive side play.
- Holder face distance to commutator typically around 2.5–3 mm on many machines.
- Verify spring pressure
- Springs should be in the recommended range and reasonably equal between brushes (difference usually kept within about 10–15%).
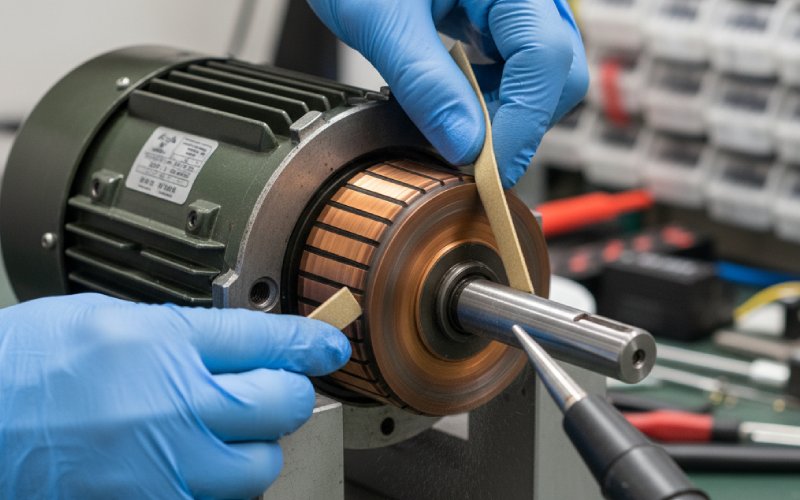
- Seat new brushes if installed
- Use approved seating paper or stones to match the brush face to the commutator radius.
- Keep dust from this process out of the motor; vacuum afterwards.
- Run-in period
- Operate the motor at reduced load for a short period to allow the new brush faces and cleaned commutator to establish a stable film.
- Watch sparking level and temperature during this time.
10. How often should you clean a DC motor commutator?
There is no single number. Technical notes suggest:
- Regular inspections (monthly, quarterly, or whatever matches your duty)
- Quarterly light cleans on industrial units are common practice:
- Wipe exterior surfaces
- Remove loose dust with vacuum
- Annual heavier cleaning:
- More thorough vacuuming and wiping
- Detailed commutator and brush inspection
High-duty or dirty environments (steel, mining, cement, paper) usually mean shorter intervals. Some sources recommend weekly brush/commutator checks for heavy continuous-duty applications.
A useful habit: tie inspection and cleaning interval to:
- Motor duty (intermittent, continuous, overload-prone)
- Environment (dust, oil mist, chemical vapors)
- Criticality (line-critical vs redundancy available)
Once you log a year of inspections, patterns appear quickly.
11. Common mistakes when cleaning DC motor commutators
A short list to avoid:
- Over-polishing to bright copper Removing all brush film forces the system to rebuild it from scratch; this can mean more wear and temporary commutation issues. Many acceptable films are not uniform chocolate brown, despite the old rule of thumb.
- Using aggressive abrasives as routine practice Stones and abrasives should solve defined problems, not be a default. Persistent need for stoning usually signals wrong brush grade or mechanical issues.
- Flooding with solvent Solvent that migrates into insulation or crevices can carry conductive debris, increasing risk of tracking and failures. Wipe, don’t soak.
- Ignoring brush grade and pressure Wrong grade or poor spring settings will quickly undo any cleaning work and can lead to arcing and bar burning.
- Blowing dust through the motor instead of out of it Several guides explicitly warn that just redistributing dust inside the machine can be worse than leaving it alone. Always direct air so the dust exits the housing.
12. Quick inspection and cleaning checklist for B2B maintenance teams
You can adapt this into a one-page standard for your plant.
On each scheduled inspection:
- [ ] Record date, running hours, load pattern since last check
- [ ] Visual check of commutator film (note pattern, color, any streaking)
- [ ] Check for:
- Grooves
- Pitting
- Copper drag or burning
- [ ] Check brush wear (length vs original) and pattern
- [ ] Confirm brushes move freely in holders
- [ ] Approximate spring pressure equality
- [ ] Vacuum loose dust; wipe accessible surfaces
- [ ] Decide: no action / light wipe / solvent wipe / stone + planned machining
Over time, these records support decisions like:
- Changing brush grade
- Adjusting cleaning intervals
- Planning commutator skim cuts during other outages
13. FAQ: DC motor commutator cleaning
Q1. How often should I clean a DC motor commutator in continuous industrial service?
For heavy continuous-duty motors, many operators check brushes and commutator condition at least weekly and carry out light cleaning (vacuum + wipe) at the same time. Technical papers on DC drives also suggest quarterly light-duty cleans and annual heavy-duty cleaning, adjusted based on actual inspection results.
If your logs show stable film and low dust, you may extend intervals; if sparking and buildup appear, shorten them.
Q2. Can I use sandpaper to clean a DC motor commutator?
You can, but it’s rarely the best idea.
Regular sandpaper can leave conductive abrasive embedded in brushes and copper.
Field electricians often treat sandpaper as a last resort and prefer proper seater or grinding stones meant for electrical machines.
If sandpaper is your only option in an emergency:
Use the finest non-conductive grade you can get.
Clean thoroughly with vacuum and dry air afterwards.
Plan a proper inspection and possible re-work later.
Q3. Which solvent is safe to use on a commutator?
Most maintenance guides recommend a chlorine-free electrical solvent that:
Evaporates without residue
Is compatible with motor insulation and varnish
Is applied sparingly on a cloth, not sprayed or poured directly onto windings
Always remove brushes before solvent wiping; carbon is very absorbent.
Q4. Do I always need to remove brushes for cleaning?
For simple dry vacuuming in the housing, brushes can stay in place. For anything involving:
Solvent
Abrasives (stones, papers)
Disturbing the commutator surface
you should remove them:
To avoid contamination and abrasive embedding
To prevent solvents from changing brush properties
Q5. How “clean” is clean enough?
Experienced motor specialists often judge “clean enough” by:
No loose dust or sludge around the commutator and brush gear
Commutator surface that is smooth to the touch with a stable film (even if blotchy)
No visible metal drag or raised burrs
Acceptable sparking level under rated load (nondestructive, not burning bars)
If you have to keep working the surface to reach a perfect cosmetic finish, you’ve probably gone too far.
Q6. When should I stop cleaning and send the armature to a shop?
Consider outside machining or repair when you see:
Persistent heavy sparking that doesn’t respond to cleaning and brush adjustments
Deep grooves or bar step-wear
Bar burning, slot bar burning, or threading patterns
Repeated copper flaking or drag after short running hours
At that point cleaning is only a temporary stabilizer while you plan a skim cut, mica undercut, or other corrective work.