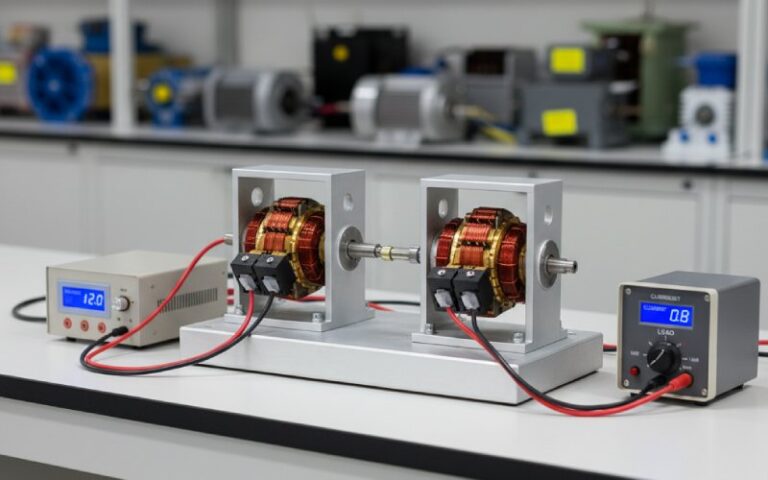
Using a Growler to Test for Shorted Commutator Segments
The segment is where the symptom shows up. The fault is usually in the winding section tied to that bar pair, or in a bridge, or in a ground path. Same mess, different entry point. A growler helps separate those possibilities before the armature gets condemned for the wrong reason.
A growler works by driving alternating flux through the armature core. A shorted turn picks up induced current and sets up a local magnetic field of its own. That is why a thin steel strip chatters over a bad area, and why bar-to-bar readings stop matching when one section goes off-pattern. The useful part is not the noise. It is the comparison.
Table of Contents
Key Takeaways
- A growler usually exposes a winding fault linked to commutator bars, not a bad bar by itself.
- Clean between segments before testing or surface contamination can imitate a fault.
- If the steel strip reacts almost everywhere, stop using the feeler method and switch to bar-to-bar comparison.
- A low or zero reading is not automatically a short; depending on the tester circuit, opens and grounds can collapse the reading too. On some testers the suspect section may swing high instead. The real clue is the section that stops matching the rest.
What a Growler Test Actually Detects
The growler is best treated as a fault separator. It helps you sort turn-to-turn shorts, grounded windings, open coils, and bad commutator-side connections into different buckets. That matters because two burned bars, or one ugly section, do not automatically prove a shorted segment. Open circuits and high-resistance connections can leave marks that look just as convincing from the outside.
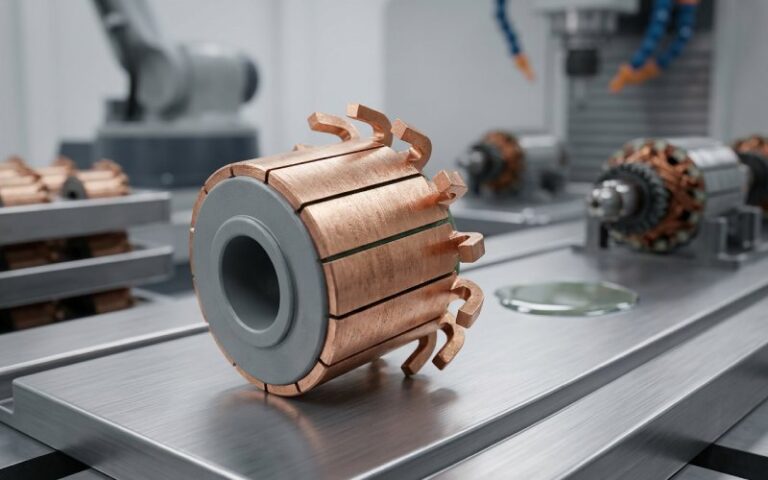
This is also where a lot of bad calls start. A commutator can look rough because of copper drag, bar burning, poor commutation, contamination, vibration, unequal pole gaps, or winding faults. The collector surface is a symptom carrier. It is not always the source.
Pre-Test Checks Before Testing the Commutator
Clean the spaces between segments first. Not later. Carbon dust, copper smear, damp dirt, and metal chips can bridge where they should not. Some testers will show a dim or intermittent ground indication when the problem is only contamination. Clean it, brush it out, then retest.
Place the armature in the growler before turning power on, and switch the tester off before lifting the armature out. Running the unit without an armature in place can overheat the transformer section. Basic point, but it gets skipped.
Try to test the armature cold, or at least not fresh off load. Comparison work on low-impedance windings is easier to trust when temperature is not moving the baseline around. That is less a formal ritual, more a practical one.
Step-by-Step Growler Feeler Method
Step 1: Seat the armature correctly
Set the armature squarely in the growler jaws or V-block so the magnetic path is stable. Power the tester only after the armature is in place.
Step 2: Use the right feeler
Use a thin strip of plain steel, held lengthwise against the laminations. Not aluminum. Not stainless. The strip needs to respond to local magnetic pull, not just sit there.
Step 3: Rotate slowly through a full turn
Hold the strip steady and rotate the armature slowly. One full revolution is the minimum. A shorted winding section will pull the strip and make it vibrate over the affected slot area. Often you hear it before you trust what you feel.
Step 4: Mark the suspect area, then repeat after cleaning
If the strip reacts in one localized area, mark that slot region and repeat the test after confirming the commutator gaps are clean. If the strip still reacts in the same place, the fault is probably internal, not just a bridge across the bars.
Step 5: Know when to abandon this method
Some armatures make the blade chatter almost all the way around. Equalized armatures are a common example, and some winding layouts simply do not localize well with a steel strip. When that happens, do not force a verdict out of the feeler method. Move to bar-to-bar comparison.
Step-by-Step Bar-to-Bar Commutator Test
Step 1: Keep the armature in the energized growler
Leave the armature seated in the growler and energize the tester. The goal here is not one magic number. It is a repeatable pattern around the whole commutator.
Step 2: Touch the correct segment pair
Place the probes on adjacent commutator bars. On some armature designs, every other segment is the correct pair instead, so the winding layout matters. If the pattern looks irrational, check the winding scheme before blaming the armature.
Step 3: Find the maximum baseline
Move the probes around the commutator until the highest stable reading is obtained, then keep that probe spacing fixed. This becomes the comparison position for the rest of the test.
Step 4: Rotate the armature and compare section by section
Rotate the armature so each segment pair passes under the probes while the relationship between the probes stays the same. Good sections remain close to each other. The suspect section is the one that breaks the pattern.
Step 5: Interpret the odd reading carefully
On many testers, a shorted turn drives the reading low and a grounded or open winding may read zero. On other testers, the suspect section can swing high instead of low because the internal meter circuit is arranged differently. So do not memorize “low means short” as a universal law. Read your instrument by pattern first, direction second.
Step 6: Do open-circuit checking on the riser side
When checking for opens with probes or a test lamp, contact the riser part of adjacent bars rather than the finished brush track. Arcing at the brush surface can pit the commutator and create a second problem while you are chasing the first one.
How to Tell a Shorted Segment from an Open or Ground Fault
A “shorted segment” diagnosis is too loose to be useful by itself. What you usually need to separate is this:
| Observation | Most likely fault class | What to do next |
|---|---|---|
| Steel strip chatters in one local area | Turn-to-turn short or shorted coil section | Confirm with bar-to-bar comparison |
| Steel strip reacts nearly all the way around | Feeler method not discriminating on this armature | Switch to bar-to-bar method |
| One segment pair breaks the pattern and reads low on a comparative meter test | Shorted turns, or sometimes a grounded/open section depending on tester circuit | Run a ground check, then inspect the commutator-side connection |
| One segment pair shows no reading or near zero | Grounded winding or open coil are both possible on some testers | Check shaft-to-bar ground path and riser continuity |
| Test light from shaft/core to a bar comes on | Ground fault to the core or shaft | Locate the lowest bar-to-ground response and isolate that winding |
| Two bars show repeated burning at pole spacing | Cyclic electrical or mechanical disturbance, open/high-resistance connection, shorted turns, or unequal pole gap | Do not condemn the armature from surface pattern alone |
The short version: a shorted winding section usually reveals itself as one localized magnetic response and one bar pair that will not compare like the others. A grounded winding reveals itself from shaft or core to commutator. An open often shows up at the commutator connection first, and not all of them are buried deep in the coil.
A useful extra check for grounds is bar-to-ground comparison while the growler energizes the armature. The closer you get to the grounded coil, the lower the induced voltage to ground becomes. That can narrow the search before you start lifting leads or cutting ties. ([easa.com][5])
What the Commutator Pattern Is Trying to Tell You
Not every repeating color pattern is a defect. A regular slot-bar pattern can be tied to machine design and may be harmless if the darker bars are only film-related and not burned at the trailing edges. That one gets overcalled a lot.
Pitch-bar burning is different. When the same bars get hit at intervals related to the number of poles, you may be looking at a cyclic disturbance. Open circuits, high-resistance commutator connections, shorted turns, unequal pole gaps, vibration, rough commutators, weak brush pressure. Any of those can produce a pattern that looks very certain and still points to more than one root cause.
So the commutator surface does matter. Just not as a final verdict. It tells you where to doubt first. The growler tells you whether the doubt survives contact with a test.
Common Growler Test Mistakes
- Testing a dirty commutator and calling the first result final.
- Running the growler without an armature in place.
- Letting probe spacing drift during bar-to-bar comparison.
- Treating the meter direction as universal when the tester circuit may invert the symptom.
- Using the brush track as the probe point during an open-circuit check.
- Trusting commutator appearance more than the electrical comparison.
Practical Decision Rule
If the blade localizes, mark the slot and confirm it with bar-to-bar comparison. If the blade does not localize, skip the debate and go straight to bar-to-bar. If one section refuses to match the rest, do a ground check before you call it a short. If the fault disappears after cleaning, it was not internal. If the bar pattern repeats by pole spacing, do not stop at the commutator surface. There is usually another layer under it.
That sequence is not elegant. It is just reliable. Clean first. Compare second. Confirm before condemning.
FAQ
Can a growler test a commutator segment directly?
Not in the narrow sense most people mean. The growler is mainly exposing a winding fault, a ground path, or an open condition associated with the commutator bars. The bar is the access point. The defect is often in the winding section connected to it.
Why does the hacksaw blade vibrate everywhere on some armatures?
Because some winding layouts do not localize well with the feeler method, and equalized armatures can make the whole armature seem bad. When that happens, the blade test stops being selective. Use bar-to-bar induced comparison instead.
Does one low bar-to-bar reading always mean a shorted coil?
No. On many testers a low reading points to shorted turns, but opens and grounds can also collapse the reading. On some testers the suspect section moves high instead of low. The safe rule is to identify the section that breaks pattern, then separate short, open, and ground with follow-up checks.
Should probes touch adjacent bars or every other bar?
Usually adjacent bars. Not always. Some armature designs are checked every other segment, especially when the winding arrangement demands it. If the reading pattern makes no sense, verify the winding layout before calling the armature defective.
Can dirt between commutator segments imitate a short or ground?
Yes. Dirt, moisture, copper smear, and metal chips can bridge the wrong points and create a false symptom or a dim ground indication. Clean the armature thoroughly and retest before making the call.
Where do open-circuit faults usually show up first?
Often at the commutator-side connection or riser area rather than deep inside the coil. That is why a visual check of leads and connectors still matters after the electrical test points to one section.
Is a repeating dark-bar pattern always a sign of damage?
No. A regular slot-bar pattern can be non-destructive and tied to the machine’s design. What matters is whether the darker bars show burning or etching at the edges, and whether electrical tests agree that a fault exists.