DC Motor Commutator Wear: Causes, Symptoms & Real-World Fixes
If you live with DC motors, you already know: commutator wear is one of those slow-burning problems that looks “fine for now”… right up until you’re fighting downtime, smoke, and a ruined armature. This guide is meant to feel like having a senior motor tech leaning over your shoulder – explaining not just what to do, but why commutators wear the way they do, and how to stay ahead of it.
- TL;DR (for the busy engineer):
- A healthy commutator has a smooth, round surface with an even light-to-dark brown film – anything else is a clue, not “cosmetics.”
- The big culprits behind commutator wear are poor brush contact (wrong grade, bad tension, misaligned holders), contaminated or out-of-round surfaces, and electrical abuse (overload, wrong neutral, ripple).
- The fastest way to cut wear is a simple routine: safe lockout → visual check → brush check → runout check → basic electrical tests → trend and document what you see.
Table of Contents
What “DC Motor Commutator Wear” Really Means
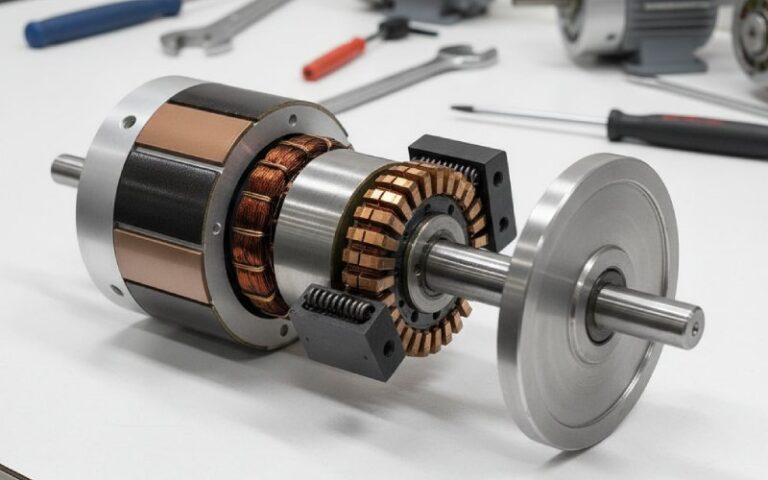
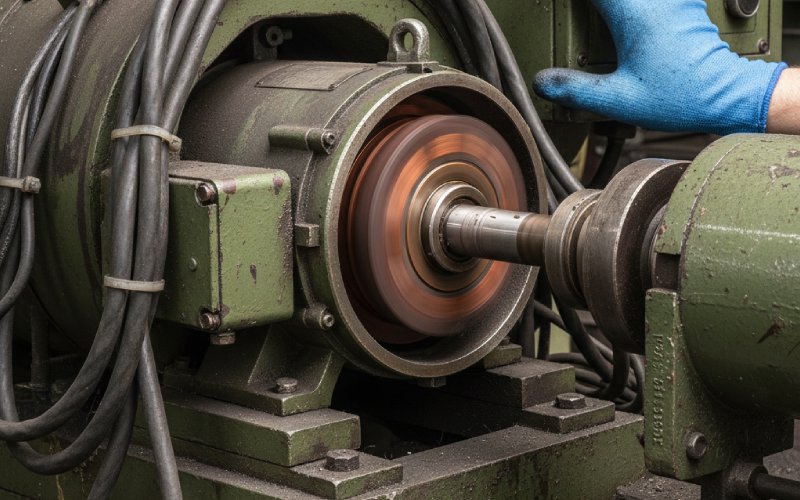
At a high level, the commutator is just a ring of copper segments that the brushes ride on, switching current into the armature coils at the right time. In reality, it’s a carefully controlled friction interface and a chemical system: the sliding brushes create a very thin film of copper oxides and graphite on the commutator surface, and that film is what lets current transfer smoothly with acceptable wear. A small, even amount of wear is normal; aggressive grooving, pitting, streaks, or burnt bars are the commutator shouting that something else in the system is wrong.
- Think of the commutator + brushes as doing four critical jobs:
- Switching current into the right armature coils at the right point in rotation.
- Providing a sliding electrical contact with minimal resistance and sparking.
- Forming and maintaining that protective surface film that stabilizes contact over time.
- Absorbing a controlled amount of wear so that the motor sacrifices brushes (cheap) long before it destroys the commutator or armature (expensive).
Why Commutator Wear Really Matters
From far away, a worn commutator can look like “just some discoloration” or “a few grooves.” But electrically, that roughness and uneven film translate into uneven current, localized heating, higher contact resistance, and extra arcing. Over time, you get hotter brushes, more carbon dust, louder EMI, and in the worst case, flashover – an arc that jumps across segments or between brush holders and can seriously damage the motor.
- The hidden price tag of ignoring commutator wear:
- Shortened brush life – brushes disappear faster, so maintenance becomes reactive instead of planned.
- Higher winding temperatures – poor contact raises losses and can bake insulation.
- More nuisance trips & noise – spikes, EMI, and intermittent torques upset drives and nearby electronics.
- Catastrophic failures – flashover, cracked bars, loosened commutator segments, or a scrap armature.
- Operational headaches – unexplained speed fluctuations, vibration complaints, and “the motor just doesn’t feel right.”
Early Warning Signs: Catching Wear Before It Gets Ugly
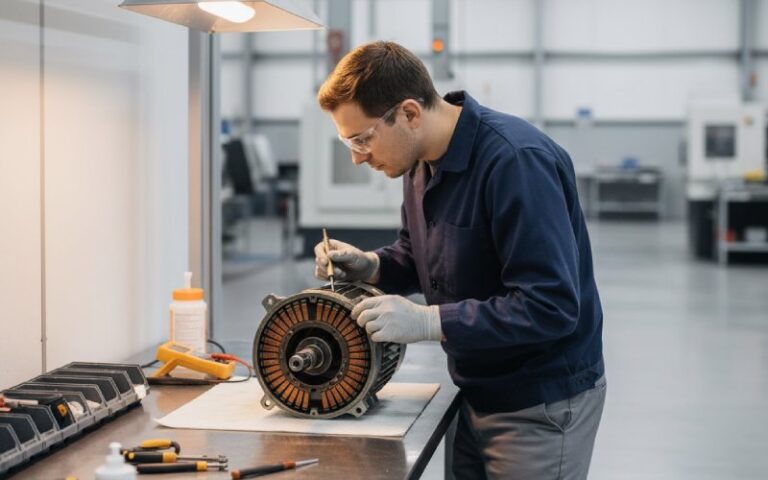
You don’t need a lab to catch commutator problems early. Your best tools are your eyes, ears, and nose, backed by a few basic measurements. The goal is to notice changes in appearance and behavior long before you see flames or smell burnt insulation. Worn brushes and poor contact usually show up first as subtle performance issues and visible changes on the commutator surface.
- Practical early warning signs to watch for:
- Visual:
- Uneven color – dark streaks, zebra-like bars, or isolated burnt-looking segments.
- Grooves or ridges under the brushes instead of a smooth cylindrical surface.
- Heavy ridge of copper at segment edges or visible “smearing” of copper.
- Audible / tactile:
- New “sizzle,” crackle, or harsh brush noise at steady load.
- Vibration that tracks with brush position rather than speed alone.
- Electrical / performance:
- More visible sparking at the brush face than usual.
- Torque ripple, speed hunting, or unexplained current spikes on the drive.
- Increasing brush temperature or suspiciously rapid brush wear between inspections.
- Visual:
Common Commutator Wear Patterns (And What They’re Telling You)
Not all wear is bad – but every wear pattern is information. Technicians and brush manufacturers often classify commutator conditions by visual patterns: streaking, grooving, slot-bar marking, bar-edge burning, copper drag, threading, etc. Each has a typical set of root causes, mostly tied to current distribution, surface finish, contamination, or brush alignment and grade.
| Wear pattern | What it looks like (short) | Likely root causes | Good first actions |
| Uniform smooth film | Even tan–dark brown ring, no ridges or pits | Normal operation | Document as “good,” keep operating conditions stable |
| Grooving | One or more grooves worn around the commutator | Abrasive dust, too-hard brush grade, contamination in film | Clean motor, check filtration, review brush grade, skim if severe |
| Slot-bar marking | Alternating lighter/darker bars following slot pattern | Uneven armature current, wrong neutral, interpole issues, overload | Check brush neutral, interpole polarity, armature data, load level |
| Threading | Fine spiral lines that wrap around commutator | Vibration, rough surface, poor film or wrong brush grade | Check bearings, runout, brush tension; polish and re-seat brushes |
| Copper drag / smearing | Copper pulled or smeared in direction of rotation | High current density, soft surface, high temperature, arcing | Verify load and drive settings, check spring pressure and grade |
| Bar-edge burning | Dark burning at segment edges, sometimes pitting | Brushes off neutral, poor contact, electrical overload | Re-set neutral, check holder position, confirm current vs nameplate |
| Isolated burnt bars | One or a few bars visibly burnt or recessed | Local armature fault, loose bar, bar-to-bar short | Perform bar-to-bar tests, insulation tests; shop repair likely |
| Heavy black, patchy film | Uneven, almost sooty patches | Contamination, poor ventilation, unstable film | Clean, improve cooling, verify correct brush material and load |
- Three “red alert” patterns you should never ignore:
- Isolated burnt or deeply pitted bars – often points to armature faults or loose bars; further operation can destroy the armature.
- Intense bar-edge burning with heavy sparking – usually a mix of incorrect neutral setting, poor brush contact, or serious overload.
- Severe grooving or out-of-round surfaces – brushes start bouncing, spring systems get overworked, and wear accelerates in a feedback loop.
Root Causes: Why Commutators Wear Out Faster Than They Should
Once you see a wear pattern, the real job is asking why. Commutator wear is rarely “just old age.” It’s usually a combination of mechanical misalignment, surface condition, electrical stress, environmental contamination, and human factors like brush selection and maintenance. Brush manufacturers consistently point to poor commutator condition, incorrect brush grade, and inadequate spring pressure or holder geometry as leading causes of rapid wear.
- The big levers behind commutator wear:
- Mechanical:
- Out-of-round commutator (excessive runout).
- Worn bearings, shaft misalignment, or end-frame distortion.
- Electrical:
- Overload or frequent overload cycles.
- Incorrect neutral adjustment or weak/incorrect interpoles.
- High ripple currents from poorly tuned DC drives.
- Environmental:
- Abrasive dust (cement, minerals, metal fines).
- Oil mist, moisture, or chemicals affecting the film and insulation.
- Poor cooling and hot ambient conditions.
- Brush & holder system:
- Wrong brush grade for duty (too hard, too soft, wrong friction).
- Low or inconsistent spring pressure, fatigued springs.
- Holders misaligned, uneven spacing, or too far from the commutator.
- Brushes not properly seated, giving small contact areas and hot spots.
- Mechanical:
A Simple Diagnostic Routine for Commutator & Brush Wear
You don’t need exotic gear to build a solid diagnostic routine – just discipline. Many industry guides for DC motor maintenance recommend a mix of visual inspection, mechanical checks (runout, alignment), and a few simple electrical tests such as insulation and bar-to-bar resistance tests to detect loose or shorted segments.
- Suggested routine (adapt to your safety rules & OEM guidance):
- 1. Lockout/tagout. De-energize, verify zero energy, remove stored mechanical energy.
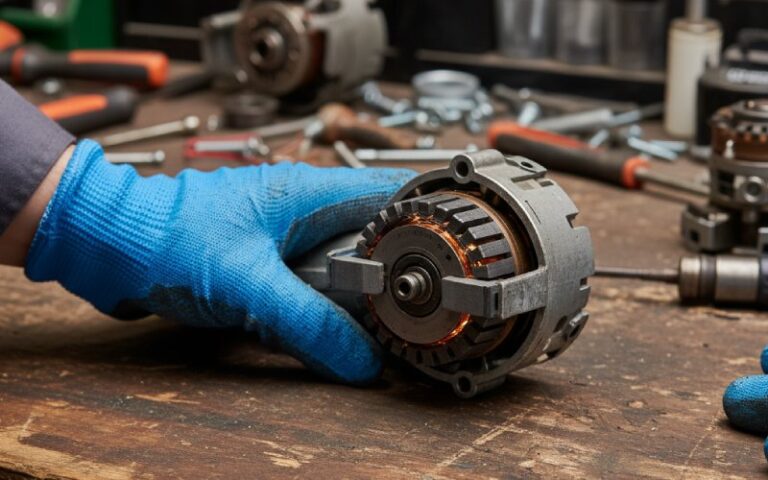
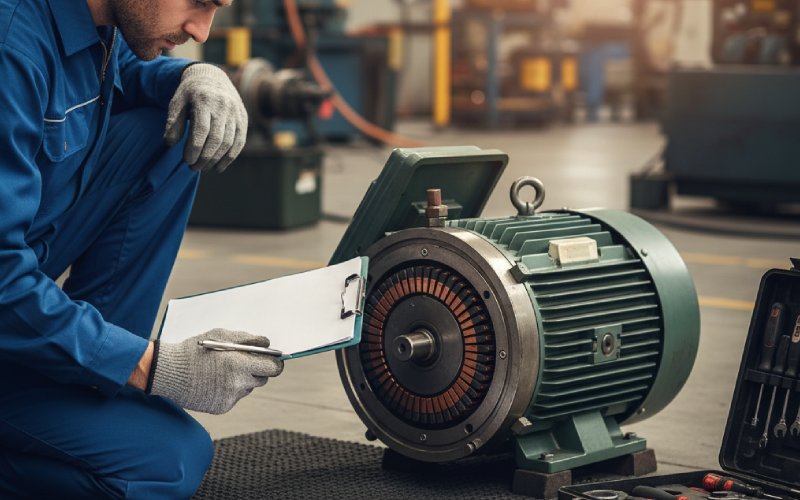
- 2. Visual inspection.
- Inspect commutator surface and film, record photos.
- Check for loose segments, cracks, raised mica, burnt bars.
- 3. Brush and holder check.
- Confirm brush grade and type match OEM or engineering spec.
- Measure brush length vs. minimum allowed; look for uneven wear.
- Check spring pressure consistency with a gauge if available.
- Confirm holder alignment, spacing, and overhang distance.
- 4. Mechanical condition.
- Check shaft end play and bearing condition.
- Measure commutator runout (dial indicator) and compare with your internal limits.
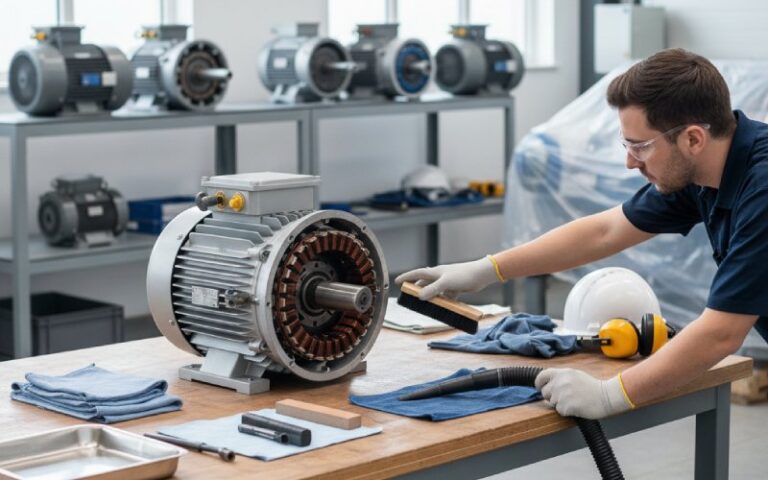
- 5. Cleaning.
- Vacuum (never blow) carbon dust and debris.
- Clean slots if there’s packing or bridging between bars.
- 6. Electrical checks (if trained & equipped).
- Insulation resistance of windings.
- Bar-to-bar tests for uniform resistance (or growler test at a shop).
- Spot-check temperature trends from historical data.
- 7. Document & trend.
- Log film condition, wear patterns, runout, brush length, and any sparking notes.
How to Reduce Commutator Wear in Practice
Once you understand the root causes, reducing wear becomes less mystic and more like tuning a machine. Many practical recommendations boil down to: keep the surface round and clean, keep the film stable, ensure good mechanical contact, and avoid abusing the motor electrically. Brush and commutator specialists repeatedly highlight the importance of correct brush grade, proper seating, and adequate spring pressure to stabilize film and minimize wear.
- Practical ways to extend commutator life:
- Optimize brushes:
- Use grades approved for your duty (continuous, high-cyclic, reversing, etc.).
- Properly seat new brushes to the commutator radius and track; avoid running with tiny contact areas.
- Control spring pressure:
- Set and periodically verify pressure; too low → arcing & wear, too high → mechanical wear.
- Replace springs on a schedule, not only when they “look bad.”
- Keep the commutator round and smooth:
- If runout or heavy grooving develops, schedule a skim cut and mica undercutting at a qualified shop.
- After machining, re-seat brushes and monitor film development closely.
- Fight contamination:
- Improve filtration and enclosure sealing where abrasive dust is present.
- Fix oil leaks, avoid over-lubrication that slings oil into the motor.
- Tame the drive & load:
- Avoid chronic overloading and harsh start-stop duty if the motor wasn’t designed for it.
- Tune drive parameters to limit excessive current ripple and aggressive acceleration profiles.
- Improve cooling:
- Make sure blowers and cooling paths are clear; hot motors have less forgiving films and faster wear.
- Optimize brushes:
When to Machine, When to Replace, When to Call the Shop
There’s a point where “touching up” is no longer enough. Maintenance and repair firms often recommend resurfacing when the commutator is out of round, heavily grooved, or has an unstable film that doesn’t respond to operating and brush adjustments. Deeply burnt bars, loosened segments, or severe pitting usually mean the armature needs professional repair or replacement, not just another set of brushes.
- Use this as a rough decision guide (always check OEM + your shop):
- Monitor only:
- Smooth, round surface with uniform film.
- Light streaks but stable, no excess sparking or noise.
- Plan a skim / undercut:
- Noticeable grooving, threading, or runout beyond your internal limit.
- Raised mica or sharp segment edges that chew brushes.
- Persistent unstable film after cleaning and brush/drive adjustments.
- Send to shop or plan replacement:
- Cracked, loose, or significantly recessed bars.
- Repeated flashover or heavy bar-edge burning.
- Electrical tests show bar-to-bar shorts or suspected armature turn faults.
- Check the system after any major work:
- Re-verify brush grade, seating, and neutral position.
- Capture “post-repair” photos as your new visual baseline.
- Monitor only:
Building a Simple “Commutator Health” Program
The plants that suffer the least from DC motor surprises treat commutator condition as a trackable asset metric, not an afterthought. Many motor management guides recommend moving from “fix what failed” to a structured program: consistent inspections, root-cause analysis, and a clear plan for repair/replace decisions.
- Lightweight program that still makes a big difference:
- Standardize inspections – same checklist, same photos every time; make it easy to compare “last shutdown vs today.”
- Tag motors by criticality – high-impact motors get more frequent commutator/brush checks.
- Log wear and events – brush change dates, resurfacing dates, flashovers, abnormal sparking incidents.
- Agree on limits – runout limits, minimum brush length, maximum acceptable sparking level (qualitative notes are fine).
- Do simple root-cause reviews – every time a commutator needs heavy work, ask why and document the answer.
- Partner with a good shop / brush supplier – share your photos and data; they can often spot subtle pattern issues faster.
Wrapping Up
DC motor commutator wear isn’t just a cosmetic maintenance nuisance – it’s a live health indicator for the whole motor and its drive system. If you learn to “read” the surface, run a simple diagnostic routine, and tweak the mechanical, electrical, and environmental conditions that drive wear, you’ll stretch the life of your motors, cut unplanned downtime, and make brush changes boring instead of dramatic.