DC Motor Commutator Repair: From Scary Sparks to Smooth Spin
If you’ve ever watched a DC motor throw sparks, smell that burnt-electrical smell, or simply refuse to start, there’s a good chance the commutator is trying to tell you something. The good news: many commutator problems are repairable if you catch them early and work methodically. The bad news: if you rush in with sandpaper and guesswork, you can ruin a motor beyond economical repair.
This guide walks you through real-world DC motor commutator repair: what’s actually going wrong, what you can safely fix yourself, and when it’s time to call a motor shop instead. I’ll weave in what industrial repair specs and large repair shops recommend, and translate it into human, practical language.
Table of Contents
Before You Grab a Screwdriver: Safety & When Not to DIY
Even small DC motors can bite: they store energy in inductance, and are often tied into mains-powered equipment. Industrial DC motors can be catastrophic if mishandled.
At a minimum, you should:
- Disconnect and lock out power (pull plug and isolate supply; for industrial, follow lockout/tagout).
- Discharge capacitors, DC drives, and power supplies.
- Wear eye protection (copper dust + carbon dust = gritty eyes and lungs).
- Work in a ventilated area and avoid breathing carbon/copper dust; vacuum, don’t blow, whenever possible.
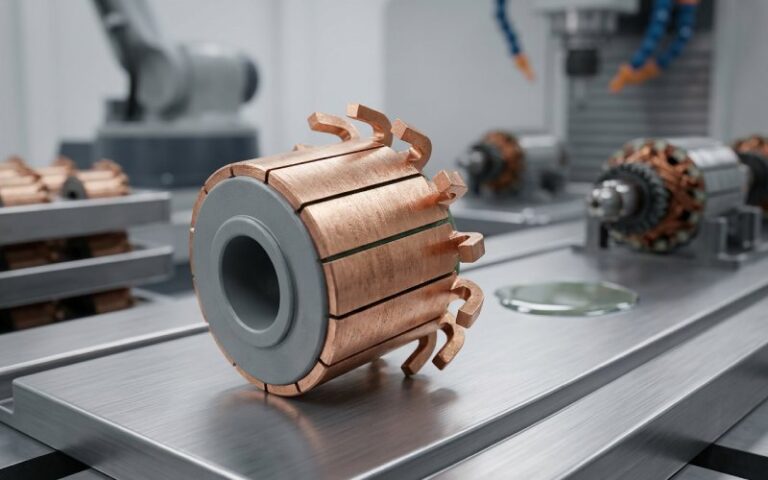
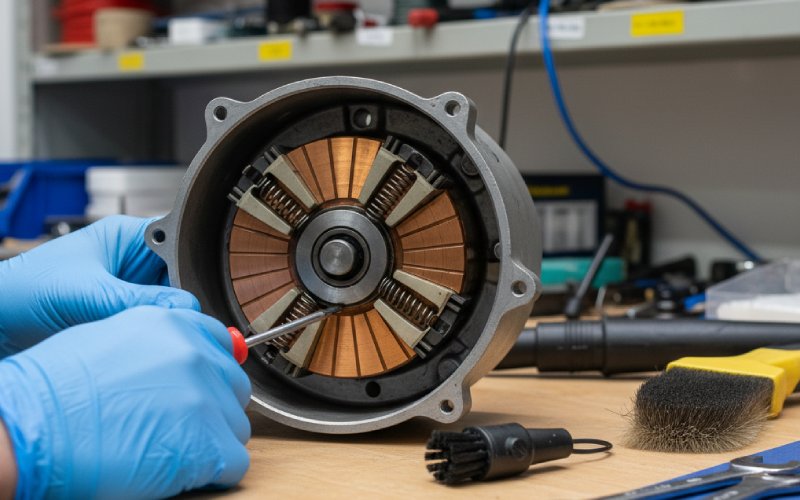
What a Commutator Actually Does (in Human Terms)
Imagine the armature as a rotating bundle of electromagnets, and the commutator as a rotary switch that keeps flipping current at just the right time. Each copper bar (segment) on the commutator is tied to a coil; carbon brushes press on it and feed DC into those coils as the armature spins.
When the commutator is healthy, the contact between brush and copper is smooth and controlled. When it’s not, you get:
- Local hot spots
- Excessive sparking
- Burn marks, pitting, grooves, and eventually winding damage
Early Warning Signs Your Commutator Needs Attention
If you catch issues at this stage, “repair” often means cleaning and light resurfacing instead of rewinding or full replacement.
Common symptoms to watch and listen for:
- More than “normal” sparking at the brushes – long orange tails or continuous arcs
- Motor sounds harsher: crackling, buzzing, or rhythmic “tick” synced with rotation
- Smell of hot insulation or burnt dust, especially under load
- Visible damage: dark burn marks, rough segments, threading (fine spiral lines), or copper smeared across segments
- Unstable speed or torque, especially if improved briefly after tapping or wiggling connections
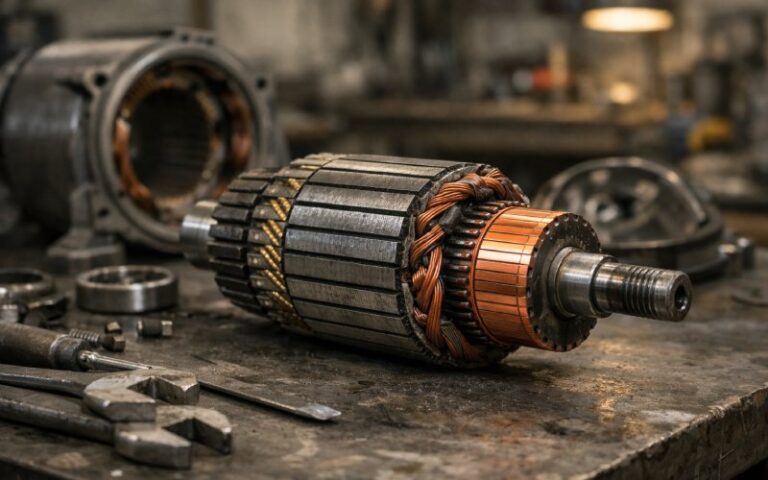
Why Commutators Get Damaged (And What That Tells You)
Most commutator damage isn’t “bad luck” – it’s a story about how the motor has been used.
Big underlying causes include:
- Worn or misaligned brushes Poor seating, wrong spring pressure, or the wrong brush grade lead to poor contact, excessive heating, and uneven wear patterns.
- Contamination and humidity Oil, dust, carbon, and moisture create conductive films and tracking paths between segments.
- Overloading and stalling Running above rated load for long periods causes flat spots, severe heating, and sometimes flashover.
- Commutator geometry issues Out-of-round, ridged, or improperly undercut commutators cause brush bounce, vibration and sparking.
Quick Decision Map: Clean, Resurface, Undercut, Replace, or Scrap?
Here’s a high-level view to help you decide how far you need to go. (Depth on each option follows.)
| Commutator Condition | Typical Symptoms | DIY Level | Likely Action |
| Lightly dirty / dusty, film uneven | Slight sparking, dull brown/grey film | Beginner–Intermediate | Clean + polish; inspect brushes |
| Threading, fine grooves, mild ridges | Fine lines, more sparking under load | Intermediate | Clean, light resurfacing, check brush pressure |
| Deep grooves, clearly out-of-round | Heavy sparking, brush chatter, noise | Pro / advanced shop | Turn (machine) commutator + undercut insulation |
| Burn marks, pitted bars, loose segments | Local arcs, irregular noise, hot smell | Pro only | Re-machine or replace commutator, inspect windings |
| Cracked bars, lifted segments, severe burning | Violent sparking, motor stalls or trips protections | Pro only | Full rebuild or scrap |
This logic aligns with guidance from industrial DC motor repair specs and professional repair shops, which emphasize turning, undercutting, and, when necessary, full commutator replacement rather than “just sanding until it looks okay”.
Tools & Materials for Small / Medium DC Motor Commutator Repair
You don’t need a full motor shop for basic work, but you do need the right tools to avoid doing more harm than good.
For typical bench-level work:
- Precision screwdrivers, hex keys, pullers for disassembly
- Fine non-conductive abrasives (e.g., 400–600+ grit paper or specialized commutator stones; avoid coarse sandpaper)
- Small non-metallic brushes, lint-free cloths, and vacuum (no compressed air blasting carbon everywhere)
- Feeler gauges or a thin non-metallic blade for light undercut cleaning
- Multimeter / insulation tester (megger) for basic electrical checks
- New brushes of the correct grade and size, with proper springs where applicable
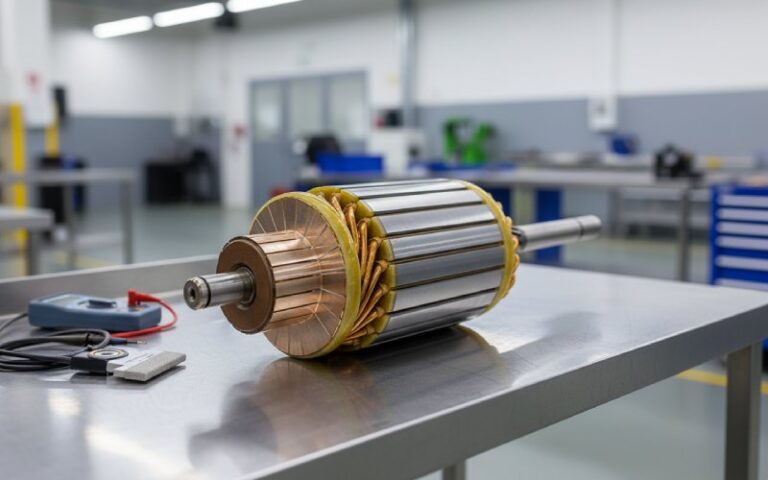
Step 1: Inspect Before You Touch Anything
Resist the urge to “fix by sanding” straight away. A calm, detailed inspection tells you 80% of what you need to know.
Look at:
- Brushes
- Length remaining vs. new spec
- Evenness of wear between brushes
- Contact pattern on the face (full, partial, chipped, glazed)
- Commutator surface
- Color: uniform light brown film is good; blackened or burnt spots are not
- Texture: smooth vs. ridged, grooved, or pitted
- Geometry: any visible ovality, flat spots, or lifted bars?
- Insulation between bars (mica/insulation undercut)
- Is it below the copper surface by ~0.5–1 mm as many guides recommend?
- Surroundings
- Signs of oil ingress, dust build-up, or overheating in the frame and windings
Step 2: Cleaning & Polishing (The “Least Invasive” Repair)
If the commutator is mostly smooth, with just dirt, light film, or minor lines, a careful clean and polish is often all you need.
Typical cleaning sequence:
- Vacuum loose dust and debris (brushes, housing, and windings).
- Wipe the commutator gently with a lint-free cloth dampened with a suitable electrical cleaner (no residue, non-flammable where possible).
- With brushes removed, rotate the armature and very lightly polish the commutator using fine commutator stone or 400–600+ grit paper; wrap the abrasive around the commutator and keep it moving to avoid flat spots.
- Clean again and ensure no abrasive or dust remains in the slots or windings.
Step 3: Dealing With Sparking, Threading, and Fine Grooves
If your commutator shows threading (fine spiral lines) or light grooves, you’re past “just dusty,” but not yet in “machine it on a lathe” territory.
Practical actions for these borderline cases:
- Re-check brush pressure and grade; low spring tension or the wrong brush grade is a classic cause of threading and excessive sparking.
- Perform a more thorough polish with very fine abrasive, focusing on evening out the surface without removing unnecessary copper.
- Carefully dress the brush faces (where recommended) and seat them properly, typically using fine abrasive on the commutator with the brushes installed under spring pressure (following professional guidance to avoid over-shaping the brushes themselves).
- Clean out any copper dust or smearing between segments.
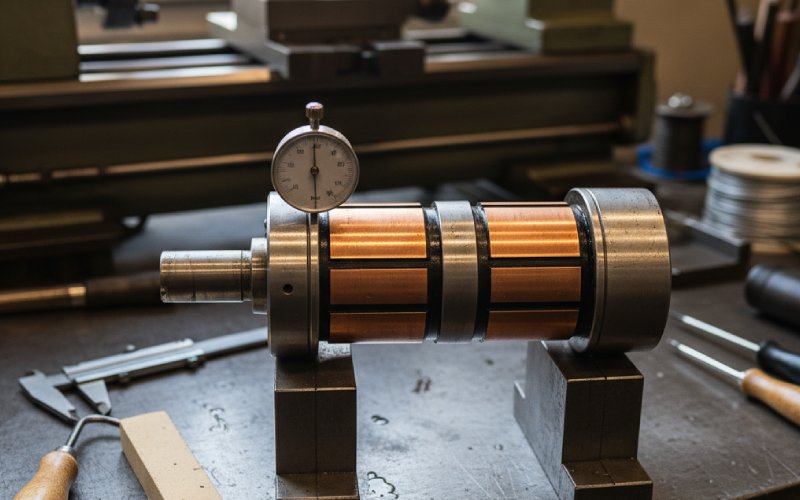
Step 4: Resurfacing – When the Commutator Must Be Turned
Deep grooves, heavy pitting, or an obviously out-of-round commutator usually require turning (machining the surface) and then undercutting the insulation between bars. This is standard practice in industrial maintenance.
For anything larger than a small hobby motor, this is typically not a DIY-with-a-file job; it’s done on:
- A lathe or specialized commutator turning rig
- With the armature supported correctly at both ends
- Using proper cutting tools and speeds
A competent shop will:
- Machine the commutator round and smooth, removing the minimum material.
- Check bar tightness and condition of risers and connections.
- Perform undercutting to restore the correct insulation depth between bars.
Step 5: Undercutting the Insulation – Why It Matters
Between each copper bar is an insulating material (often mica or resin). After turning, this insulation can be flush or even high, which causes brush bounce and arcing. Proper repair spec calls for a small but clear recess (often in the 0.5–1.0 mm range) below the copper surface.
Key principles of undercutting:
- Maintain uniform depth and width of the slot all around the commutator.
- Avoid nicking or undercutting into the copper bar edges, which can create stress points and increase flashover risk.
- Deburr the slot so brushes don’t hang up or chip.
Step 6: When the Only Real Fix Is Commutator Replacement
Sometimes the commutator itself is structurally done: cracked bars, loose segments, severe burning, or bars that have lifted relative to the core. In those cases, professional sources are blunt: you’re generally looking at commutator replacement or complete armature replacement.
Examples where replacement is the sane path:
- Multiple adjacent bars burned or eroded away
- Commutator segments loose on the “vee” rings or core
- Evidence of major flashover that has melted or distorted segments
Step 7: Brushes – The “Soft” Side of Commutator Repair
You can’t fix commutator problems and then reinstall terrible, worn-out, or wrong-grade brushes. Brush condition is often the root cause behind sparking, threading, and burn marks.
When evaluating and replacing brushes:
- Replace brushes that are below the minimum length or show chipped, cracked, or highly uneven wear.
- Verify brush grade (hardness, composition) against the motor manufacturer’s recommendations. Wrong grades can eat commutators or glaze badly.
- Check spring pressure and brush holder alignment; low tension or misalignment is a classic cause of sparking and fast wear.
Step 8: Reassembly & “Run-In” (Seating New Brushes)
After you’ve cleaned or resurfaced the commutator and sorted out the brushes, you’re not quite done. New or re-seated brushes need a brief “run-in” period to mate perfectly to the commutator surface.
A typical, gentle run-in strategy:
- Reassemble carefully, ensuring no loose hardware or stray wires can contact the commutator.
- Start the motor at reduced load (or no load if possible) and let it run while monitoring temperature, noise, and sparking.
- Gradually ramp up to normal operating load if the commutator shows even film development and only small, tight sparks.
- Shut down immediately if you see long, bright arcs, heavy smoke, or rapid heating.
Step 9: Classic Mistakes That Kill Commutators Early
Understanding what not to do is just as important as learning the correct procedures.
Common pitfalls to avoid:
- Using coarse sandpaper or emery cloth (the conductive grit can embed in the commutator and cause more arcing later).
- “Cleaning” by blowing dust all over the motor instead of vacuuming.
- Ignoring insulation undercut after turning; leaving the mica/high insulation flush with the bars.
- Swapping brush grades without understanding how current density and surface speed interact.
- Failing to address root causes like overloads, vibration, or supply problems, so the freshly repaired commutator burns again quickly.
Step 10: Preventive Care – Making Your Repair Actually Last
All the best repair work in the world is wasted if the motor goes straight back into abusive service. Good maintenance practices from industrial users scale down nicely to smaller motors.
Think in terms of a simple maintenance rhythm:
- Periodically inspect brushes and commutator film for uneven patterns.
- Keep the motor and environment clean; control oil and dust where possible.
- Monitor load conditions and avoid long-term overloads or frequent stalling.
- For critical or larger motors, schedule professional testing and servicing (including insulation testing, turning, and undercutting) following recognized standards such as ANSI/EASA AR100 and similar repair specs.
Final Thoughts: Treat the Commutator as a System, Not Just a Copper Cylinder
A smooth, cool-running DC motor is not an accident. It’s the result of:
- A healthy commutator with proper geometry and undercut
- The right brushes, correctly seated and loaded
- Clean, appropriate operating conditions
- And, when things go wrong, repair work that respects how all these pieces interact
If your motor is small and inexpensive, basic cleaning, brush replacement, and light polishing might be all you need to bring it back to life. For larger or critical motors, it’s usually smarter (and cheaper in the long run) to combine your own inspections with professional commutator turning, undercutting, and testing.
Either way, once you understand what’s actually happening at that copper-brush interface, you’re no longer just “sanding until it looks shiny” – you’re making informed decisions that extend the life, reliability, and safety of your DC motors.