DC Motor Commutator Problems: Symptoms, Root Causes & Real-World Fixes
If your DC motor is sparking, losing torque, or just sounds wrong, there’s a good chance the commutator is trying to tell you something. Ignore it, and you’re looking at burnt bars, ruined brushes, and expensive downtime; listen early, and you can usually fix things with a bit of cleaning, adjustment, and planning.
- In this guide, you’ll learn:
- What a healthy commutator should look, sound, and smell like
- The most common commutator problems (and what causes them)
- Simple on-site checks vs “stop now and call a motor shop” red flags
- Practical maintenance habits that extend commutator life by years
Table of Contents
1. What the Commutator Actually Does (in Human Terms)
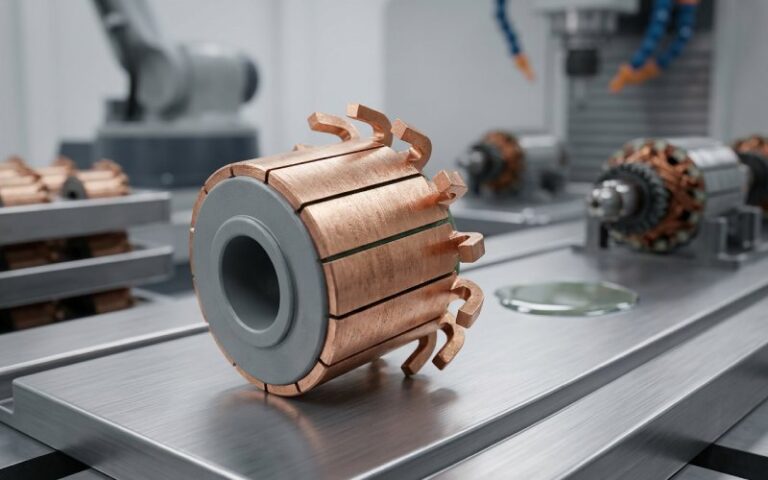
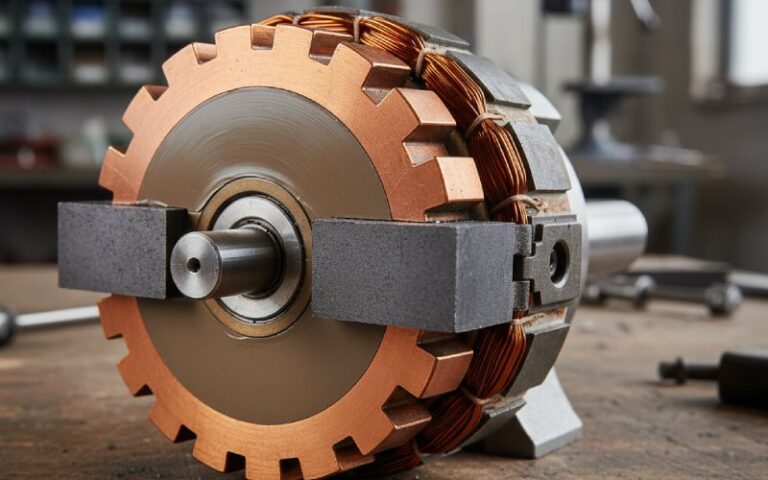
Think of the commutator as a rotating electrical “switchboard” that feeds DC power into the right armature coils at the right time. The brushes (usually carbon) ride on this copper cylinder, handing current on and off as the rotor spins.
When everything is right, the commutator surface is smooth, evenly colored with a thin brown/bronze film, and the brushes ride quietly with only a soft hiss and minimal visible sparking. Modern guides on DC motor maintenance consistently highlight commutator condition and brush health as the critical factors for reliability.
- If you remember only one thing about commutators, make it this:
- Smooth, clean surface = good contact and low heat
- Even brush wear = correct alignment and spring pressure
- Small, consistent sparks = normal commutation
- Big, random sparks or burning smell = stop and investigate
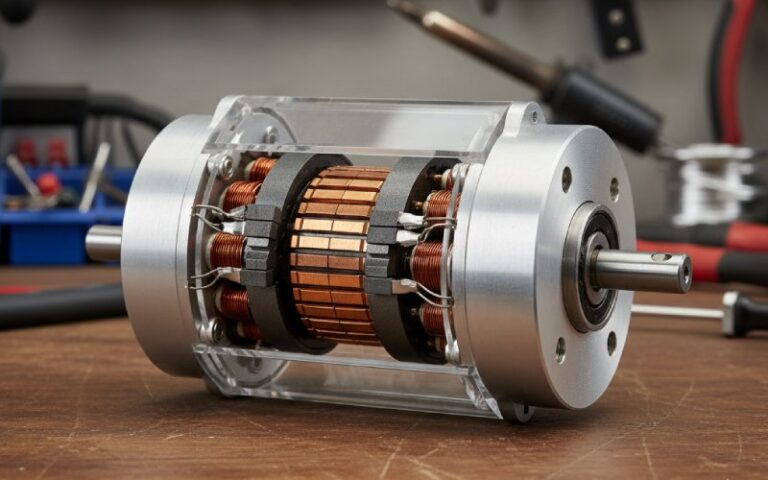
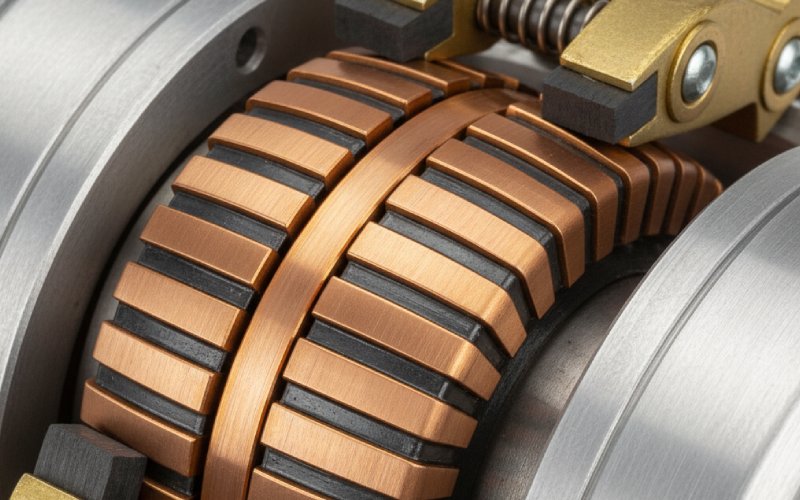
2. How a Healthy vs Unhealthy Commutator Looks
A lot of troubleshooting starts with simply looking closely at the commutator. Many industrial maintenance guides describe a “good” commutator as smooth, round, with uniform film and no raised bars, grooves, or burned spots.
A bad one often tells on itself long before failure: you’ll see streaks, dark bars, copper dragged between segments, or a surface that feels ridged rather than silky smooth.
- Quick visual/tactile “health check” (power off, locked out):
- Does the surface look evenly brown/bronze, not black and scorched?
- If you gently run a fingertip (clean hand) over it, does it feel smooth, not ridged or pitted?
- Are the slots between bars clear, not packed with copper burrs or carbon dust?
- Do any bars look higher, lower, loose, or shifted?
3. Common Symptoms of Commutator Problems (and What They Mean)
Instead of listing faults in isolation, let’s connect the symptoms you actually see and hear to likely causes. Technical sources on DC motor failures consistently point to brush/commutator interactions as a primary source of problems, especially arcing and uneven wear.
Symptom → Cause → What You Should Check
| Symptom you notice | Likely cause around commutator | DIY checks (safe, basic) |
| Heavy sparks at brushes | Worn/short brushes, rough/dirty commutator, wrong brush tension | Brush length, spring tension, commutator cleanliness |
| Irregular rotation / power loss | Contaminated or uneven commutator, poor contact | Surface condition, slot cleanliness, brush contact pattern |
| Burning smell, discoloration, hot endbell | Arcing, overload, incorrect drive settings, poor ventilation | Loading, cooling airflow, drive parameters, visible hot spots |
| Rapid brush wear | Misaligned brush holder, high ripple, rough commutator surface | Brush holder position, brush track, surface roughness |
| Loud crackling or “whip” of sparks | Imminent flashover, severe arcing, possible winding/segment issue | STOP; visual check only, call a motor shop |
| Vibration + visible scoring on commutator | Mechanical eccentricity, poor undercutting, loose segments | Runout (if you can check), mechanical mounting, shaft bearings |
- If you see any of these “red flag” combos, treat them as urgent:
- Bright, wandering sparks plus strong burning smell
- Brush pigtails or holders visibly heat-discolored
- Bars that look burnt or raised compared to neighbors
- Motor tripping breakers or drives frequently during start/stop
These are classic signs of advanced commutator/brush trouble and are frequently cited just before catastrophic failures or flashovers.
4. The Big 7 DC Motor Commutator Problems (Explained Simply)
Modern articles on DC motors all talk about “common failures,” but they often mix electrical, mechanical, and commutator issues together. Let’s pull the commutator-specific ones out and decode them in plain language.
4.1 Dirty or Contaminated Commutator
Dust, oil mist, carbon powder, and airborne contaminants slowly build up on the copper bars and in the slots. That buildup turns the commutator from a nice, controlled contact surface into something more like a random resistor network, encouraging arcing and uneven current flow.
- Typical signs of contamination:
- Dark, smeared, or “muddy” film instead of a clean, even brown layer
- Carbon packed into undercut slots between bars
- Brushes leaving streaks or patchy tracks instead of smooth bands
4.2 Excessive Sparking & Brush Arcing
Some sparking is normal — especially on older or high-load motors — but bright, jumping sparks and brush “fireworks” are a serious warning. Industrial guidance repeatedly notes that excessive sparking usually traces back to either poor brush contact or a commutator surface problem.
- Common causes of heavy sparking:
- Brushes worn too short → weak spring pressure → poor contact
- Springs misadjusted, corroded, or mismatched between poles
- Rough, scored, or out-of-round commutator surface
- Wrong brush grade for the application (poor commutating ability)
- Overload or incorrect drive setup causing severe current peaks
4.3 Uneven Wear, Grooving, and High Bars
When the commutator wears unevenly, the brushes start to bounce. That bouncing turns into more sparking, which turns into more local overheating, which creates even worse wear — a classic vicious cycle described in commutator maintenance literature.
You might see:
- Grooves cut into the commutator where brushes have tracked badly
- High bars (individual segments slightly taller than neighbors)
- Flat spots where someone has tried to “polish” by hand with poor technique
These conditions make true, smooth contact impossible and must usually be corrected with proper machining and undercutting, not just cleaning.
- Clues that wear has gone structural, not just cosmetic:
- Brush faces show matching grooves or ridges
- You can see or feel steps between bars
- Motor vibration increases with speed, along with sparking
4.4 Overheating, Discoloration, and Bar Burning
When the commutator overheats repeatedly, the film becomes patchy, bars darken or turn blue/black, and you may even see small pits or melted edges. Technical resources link this to destructive sparking, overload, or inappropriate brush grade.
If bar edges are burned or etched once you remove the film, you’re beyond “simple cleaning” territory. This is the stage where ignoring the problem leads to loose segments and full rewinds.
- Overheating often shows up alongside:
- Brush pigtails that have changed color (heat discoloration)
- Insulation or varnish near the commutator turning brown or brittle
- Drive alarms or current spikes under load
4.5 Loose or Damaged Commutator Segments
In severe cases, bars can loosen from the support structure. This is both a mechanical and electrical hazard: poor contact, vibration, and the risk of segments physically breaking away at speed.
Shops and standards bodies warn that if you suspect loose bars (visible movement, noisy “clicking,” or severe localized burning), the motor needs professional attention immediately.
- Do not try to “tap bars back” yourself on a production motor:
- The risk of further damage or imbalance is high
- You can easily mask a serious underlying thermal or mechanical issue
4.6 Brush Problems That Kill Commutators
Many “commutator problems” are actually brush problems in disguise. Recent articles on DC motor failures highlight issues such as wrong brush grade, misaligned holders, and uneven spring pressure as direct causes of rapid commutator wear and sparking.
Bad brush-related conditions include:
- Wrong brush material for load/speed → poor film, high arcing
- Brush holders off-neutral → commutation happens too early/late
- Brushes too tight/loose in holders → sticking or chattering
- Unequal spring pressure → uneven contact and localized overheating
- Whenever you see commutator trouble, ask first:
- Are brushes the correct grade and shape for this motor and duty?
- Are all brushes the same length and making full, even contact?
- Are brush holders centered correctly around the neutral axis?
4.7 Electrical Causes Behind Commutator Damage
Even if the hardware looks perfect, the way the motor is driven can shred a commutator over time. Overload, poor supply quality, and incorrect DC drive setup are all documented contributors to excessive arcing and heat.
Problems include:
- Chronic overload or frequent stall conditions
- High ripple from poorly configured rectifiers or drives
- Sudden, repeated start/stop sequences with high current peaks
- Incorrect field weakening or loss of field protection
These often show up as system-level symptoms first (trips, overheating under load, cables running hot) and only later as visible damage on the commutator.
- Good rule of thumb: If multiple motors on the same supply are having commutator issues, look upstream at the power and drive settings — not just at the copper and brushes.
5. A Practical Workflow for Troubleshooting Commutator Issues
Facing a sparking, underperforming DC motor can feel overwhelming. The trick is to move in a calm, structured way: safety first, then simple checks, then deeper diagnosis.
Lockout/tagout is non-negotiable for every step below involving physical inspection.
- Step-by-step flow you can follow:
- Observe while running (from a safe distance): noise, vibration, visible sparks, smell.
- Shut down safely and lock out power. Wait for discharge where applicable.
- Check brushes: length, freedom in holders, contact pattern, pigtails, spring condition.
- Inspect commutator: surface smoothness, color, grooves, high bars, discoloration.
- Clean carefully: vacuum (not blow) dust, wipe with lint-free cloth; avoid aggressive abrasives.
- Check alignment: brush holder position relative to neutral mark; look for skewed tracks.
- Review loading and drive settings: any recent changes, overloads, or tuning tweaks?
- Test or have tested: insulation, armature winding, and field if symptoms persist.
6. Cleaning & Light Reconditioning: What’s Reasonable on Site?
Most professional guides agree on a few simple, safe actions you can take in-house: cleaning, inspection, and basic brush seating. More invasive work (turning the commutator, undercutting, bar replacement) is better left to a motor repair shop with the right tooling.
For light maintenance:
- Use a vacuum and dry cloth to remove dust and carbon, not compressed air
- If seating new brushes, use the correct seating stone or fine abrasive designed for the purpose
- Make sure the mica undercut between bars is below the surface and free of debris
- After cleaning, run the motor lightly loaded for a while to rebuild a proper film
- Avoid these tempting but damaging shortcuts:
- Sanding the commutator aggressively with coarse paper
- Hand-filing bars to “fix” high segments
- Mixing brush types or grades because “that’s what we had on the shelf”
- Blasting carbon dust around with air, where it can migrate into other equipment
7. Preventive Maintenance Habits That Dramatically Cut Commutator Problems
The difference between motors that “just run” for years and motors that fail constantly is often simple, boring, consistent maintenance. Many practitioners recommend scheduled inspections of brushes and commutator condition, along with periodic cleaning and basic testing.
Good baseline practices:
- Regular brush inspections (e.g., every 500–1000 operating hours for demanding applications)
- Replacing brushes before they reach minimum length, not after they start sparking heavily
- Checking spring tension across all brushes to ensure uniform pressure
- Cleaning the commutator and interior of the motor to remove carbon dust and debris
- Verifying cooling/ventilation — clogged filters and blocked ducts quietly kill commutators
8. When to Stop DIY and Call a Motor Specialist
There’s a healthy line between “sound in-house maintenance” and “we’re about to turn this motor into scrap.” Many standards and repair guides effectively say: once you see structural or severe thermal damage, you’re in professional territory.
You should bring in a specialist when:
- Bars are visibly loose, shifted, cracked, or badly burned
- Sparking is loud, erratic, and accompanied by smoke or burning smell
- The motor trips protection devices repeatedly even after basic checks
- Turning/undercutting the commutator is clearly required
- You suspect winding faults (burnt smell, unequal resistance readings, flashover marks)
- Upside of calling in help early instead of late:
- They can salvage or recondition the commutator before damage propagates
- You get data (measurements, photos, test results) you can feed back into your maintenance program
- You avoid emergency downtime and rushed replacement decisions
9. Final Thoughts: Listening to the Commutator Before It Screams
DC motors are wonderfully robust machines, but their commutators are honest: they broadcast their complaints in light (sparks), sound (noise), and color (discoloration) long before catastrophic failure. If you treat those early signs as a conversation rather than a nuisance, you’ll get far more life — and far less drama — out of your motors.