Commutator Wear in DC Motors: Everything You Need to Know
In our factory, commutator wear is usually the visible result of something upstream — unstable film, poor seating, uneven pressure, runout, contamination, or a commutation problem that the copper gets blamed for because it is easy to see.
So this page is not a glossary. It is the way we discuss returned parts and failed samples on the shop floor.
Table of Contents
Wear is a symptom, not the diagnosis
A worn commutator tells you that sliding contact has gone out of balance. Sometimes mechanically. Sometimes electrically. Often both, and not in a neat order. A surface can look “bad” and still be serviceable. A surface can look almost fine and still be destroying brushes because the film is unstable or the bars are not truly running round. That distinction matters more than most checklists admit.
The first mistake we see is treating every dark mark as damage. The second is treating every shiny copper area as proof that machining is needed. Neither is reliable on its own.
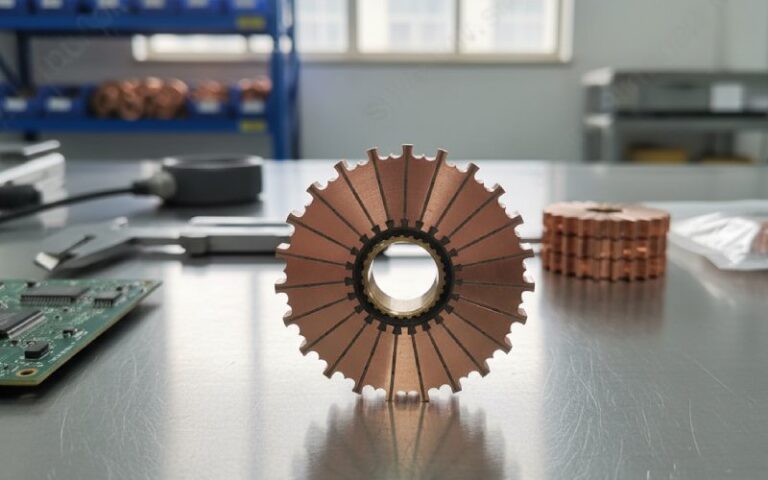
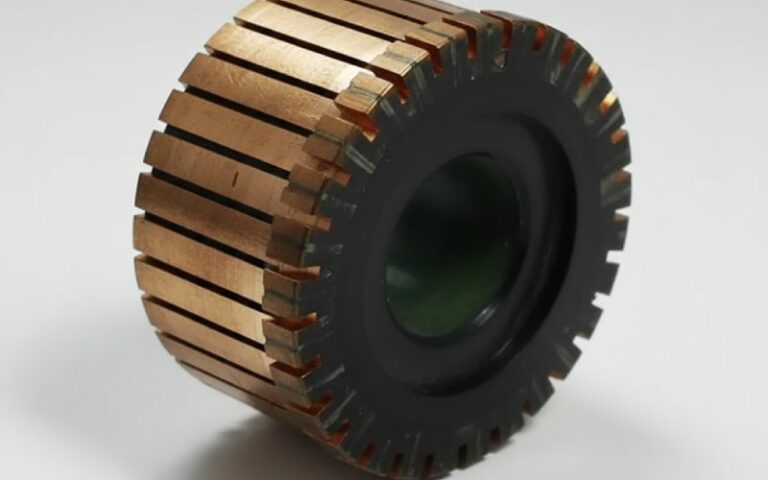
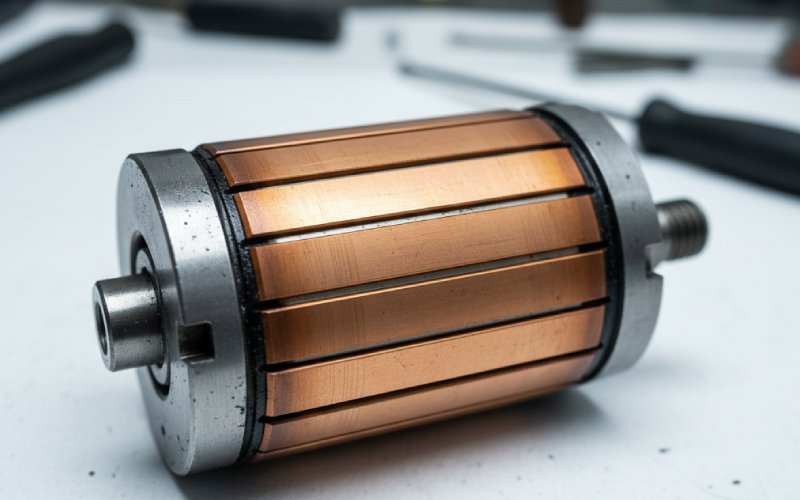
What a healthy commutator actually looks like
A good running surface is not always perfectly uniform. Different film shades can still be acceptable, and a blotchy finish is often normal if the machine is otherwise stable. Film appearance shifts with load, humidity, temperature, spring pressure, contamination, brush grade, and current distribution. Light film can be acceptable. Medium brown is often ideal. Darker film can also be acceptable. What is not acceptable is when film loss turns into copper exposure, burning, metal transfer, or unstable streaks that keep growing.
That point gets missed a lot. People chase color. We pay more attention to consistency, contact behavior, and whether the pattern is advancing.
The wear patterns that actually matter
| Surface sign | What it usually means | What we check first | Typical action |
|---|---|---|---|
| Light streaking | Film instability, uneven pressure, light load, contamination | Brush pressure balance, load profile, atmosphere | Correct the cause before cutting the surface |
| Threading | Long-term instability, uneven current distribution, surface damage already established | Current path, brush seating, bar condition | Light machining only if geometry is still recoverable |
| Grooving | Abrasive dust, overly abrasive brush behavior, low humidity in some cases | Air cleanliness, brush grade, ventilation path | Stop contamination first; deep grooves rarely stay “minor” |
| Local bar burning / bright hot spots | Repeated overload, poor commutation, high resistance contact | Load spikes, brush contact, winding or interpole condition | Fix the electrical cause before resurfacing |
| High bars / out-of-round running | Mechanical runout, eccentricity, loose or distorted bar condition | Roundness, runout, armature balance, bar integrity | True the commutator and inspect for deeper structural issues |
| Rapid brush wear with raw copper showing | Film not forming, poor seating, wrong brush behavior, contaminants | Seating area, surface finish, operating humidity, debris | Re-seat, restore surface condition, review brush match |
The pattern links above are consistent with field guidance on film behavior, grooving, bar burning, roundness, brush seating, and contamination effects.
The root causes we see most often
1. Film is unstable, not absent
A lot of wear starts with film that never settles. Low current load can do it. So can the wrong brush behavior for the duty cycle. So can dirty air. So can high humidity in one plant and very dry intake air in another. Once film becomes inconsistent, friction shifts, contact resistance shifts, temperature shifts. Then the surface starts recording all of it in lines, bright patches, or copper pickup.
This is why a commutator can be “newly machined” and still wear fast. The copper was refreshed. The contact system was not.
2. The part is not running truly round
Out-of-round commutators do not just look rough. They change the brush contact event every revolution. That can create high bars, brush bounce, broken brush hardware, and arcing at the bar edge. In practice, once eccentricity is present, the wear pattern tends to spread because the brush is no longer seeing the same contact geometry from bar to bar.
When we review failed samples from OEM lines, this is one of the first things we want measured, not guessed.
3. Brush seating is poorer than the maintenance report says
This one is common on smaller radii and higher peripheral speeds. A brush that only carries load in the middle of its face will overwork that small contact zone, build heat there, and start a wear pattern that gets misread later as a copper problem. Pre-radiused brushes help setup time. They do not remove the need for proper seating. Also, if abrasive seating residue is not cleaned out afterward, the fix becomes the next failure.
4. Contamination is doing more damage than the load
Grooving is the classic example. Airborne abrasive dust can wear grooves that match brush width, and as the groove walls steepen, effective spring force at the contact face drops. Resistance goes up. Heat goes up. Then arcing follows, sometimes flashover. At that stage, people try another brush grade and lose time. The air path was the real problem.
Carbon dust matters too. Debris between bars can support tracking or bar-to-bar problems, which is why undercutting and cleanup after machining are not side notes. They are part of whether the repair holds.
5. The copper is innocent. The commutation circuit is not
If edge arcing stays active after brush condition, seating, and surface geometry are corrected, stop staring only at the commutator. Failed field or interpole conditions can show up at the brushes. Poor commutation raises the sparking limit problem before the surface damage becomes obvious. We have seen customers rework the commutator twice when the real issue sat in the electrical side of the machine.
That is expensive. And predictable.
Our inspection sequence before we touch a lathe
We do not start with cutting. We start with separation of causes.
- Read the wear pattern, not just the color. Look for groove geometry, streak direction, local burning, copper drag, edge chipping, and whether the pattern repeats by slot or by bar group.
- Check roundness and running truth. If the commutator is eccentric, every other conclusion gets noisy.
- Check brush seating and pressure balance. Poor contact area can imitate several unrelated faults.
- Check contamination route. Not “is there dust,” but where it enters, where it settles, and whether cleaning will last more than one shift.
- Only then decide on machining. If bars are loose, heavily burned, deeply grooved, or structurally compromised, a light skim is often false economy.
That order saves rework. Also arguments.
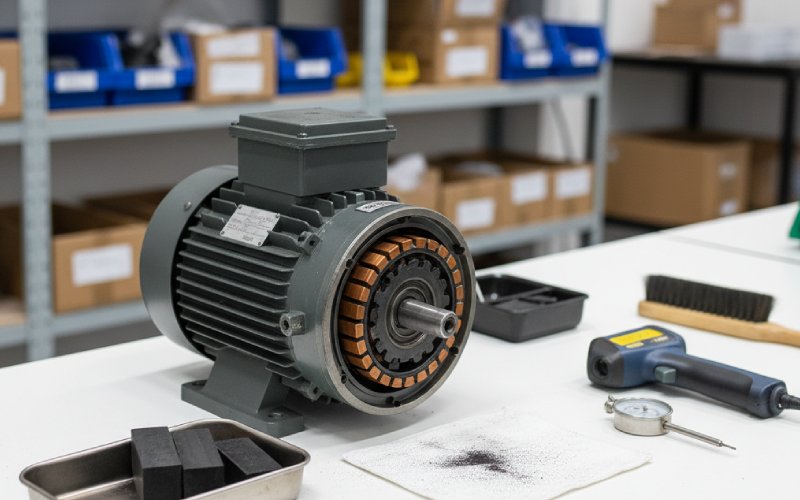
When machining helps, and when it does not
Machining helps when the structure is sound and the goal is to restore roundness and remove surface defects with the minimum possible cut. After that, the mica has to sit below the copper, and the edges need a proper chamfer so the brush transition stays smooth. If mica stands proud as copper wears, sparking and brush chipping follow. If the surface is left too glossy or contaminated, film formation can be delayed and startup behavior gets worse, not better.
Machining does not solve deep grooving caused by dirty air if the dirty air is still there. It does not solve persistent arcing driven by electrical faults. And when grooves or burning are already severe, replacement may be the cleaner decision, especially if the repair path pulls in a rewind anyway.
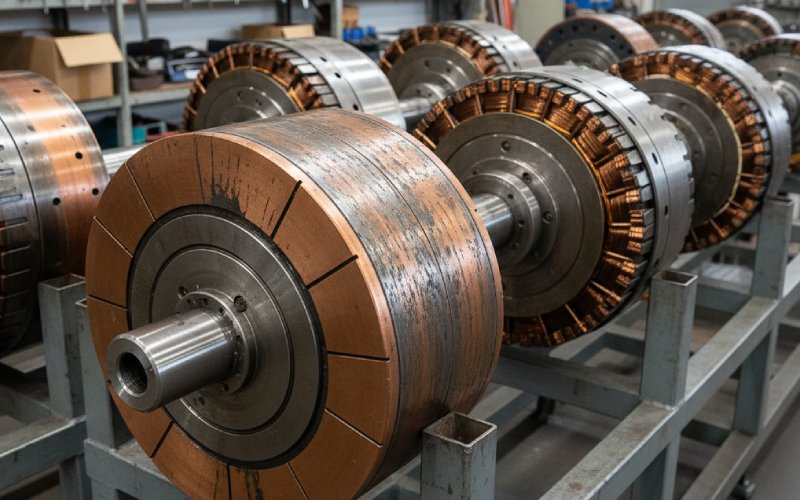
The supplier-side lesson most buyers care about
From a commutator factory point of view, wear life is not decided by copper grade alone. Geometry stability, bar integrity, mica control, surface finish after machining, and how predictably the part supports film formation all matter. Then the motor system either respects that work, or undoes it. That is why the same nominal commutator can live very differently across two DC motor programs with different loads, air quality, and brush setups.
For OEM buyers, the useful question is not “what is the hardest commutator.” It is “what commutator geometry and finish stay stable in our exact duty cycle.”
FAQ
What is the earliest reliable sign of commutator wear in a DC motor?
Usually not a dramatic spark. We treat unstable film, uneven streaking, local bright spots, and early brush-edge chatter as earlier warnings than severe visible damage. Excessive heating and torque inconsistency often appear alongside those signs.
Is a dark commutator always a bad commutator?
No. Film color alone is a weak diagnostic. Light, medium, and dark films can all be acceptable depending on brush composition and operating conditions. What matters is whether the film is stable and whether it is progressing into burning, stripping, or metal transfer.
What usually causes grooving?
Most often, abrasive contamination in the air path. An overly abrasive brush behavior can contribute too. Once grooving deepens, spring force at the contact face becomes less effective, resistance rises, and arcing risk increases.
Can a worn commutator be repaired by turning?
Often yes, but only when the bar structure is still sound and the cut can stay minimal. After turning, undercutting and edge chamfering matter. Deep grooves, severe burning, or loose bar conditions change that decision fast.
Why does wear come back quickly after brush replacement?
Usually because the brush change treated the symptom, not the cause. Common reasons are poor seating, unstable film, runout, contamination, or an electrical commutation issue that keeps forcing arcing at the same contact zone.
Does low load make commutator wear worse?
It can. Low current load can make film formation less stable, especially when combined with unsuitable brush behavior or poor atmosphere control. The result may be raw copper areas, streaking, and fast brush wear instead of a settled running film.
When should a commutator be replaced instead of repaired?
When wear is no longer just surface-level: deep grooving, severe bar burning, copper drag, loose bars, or cases where the repair path becomes larger than a surface correction. At that point, replacement is often more repeatable than trying to rescue a structurally compromised part.
If you are sourcing commutators for a DC motor program with repeat wear issues, send the wear photos, brush data, load profile, and the failed sample geometry together. Looking at the copper alone is rarely enough.