Commutator Resurfacer: A Field-Level Guide for DC Motor People
Table of Contents
1. Why you even bother resurfacing instead of replacing
What keeps showing up in real plants:
- Brush sparking on machines that are “within spec”.
- Deep tracks where one brush arm ran hot for months.
- Motors that pass static tests but howl under load because the commutator face is no longer truly cylindrical.
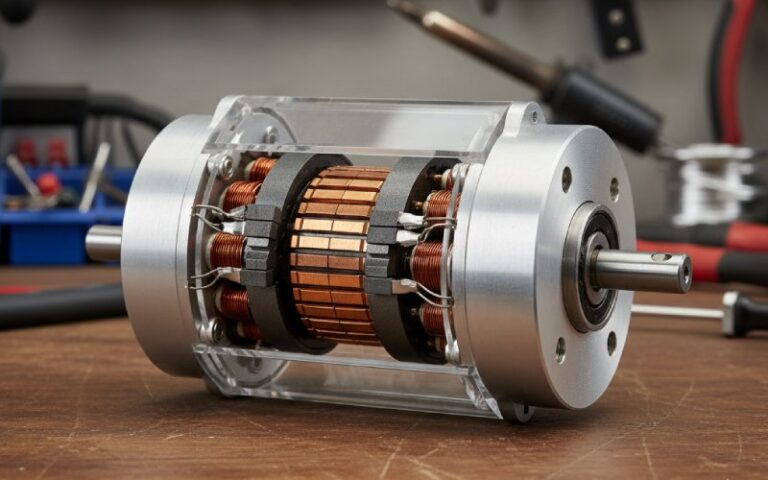
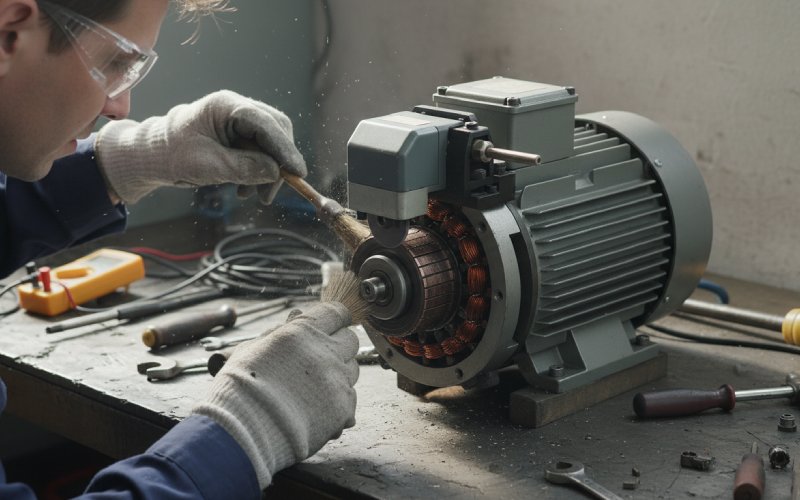
A commutator resurfacer is simply the cheapest point of control between “still in service” and “ship it to rewind”. Portable units that mount on brush rigs or arms can true commutators and slip rings without dismantling, running an abrasive stone across the full face of the part.
On top of that, commutator resurfacer stones and kits from suppliers like McMaster-Carr give you graded abrasives (coarse to polishing) so you can do everything from “quick clean” to “last chance before the lathe”.
The question isn’t can you resurface. It’s when, how, and with what so you don’t trade one problem for three new ones.
2. Who actually needs a commutator resurfacer
Short answer: anyone running fleets of DC motors or universal motors where downtime beats hardware cost.
Typical B2B cases:
- Rail, cranes, hoists, mining gear
- Traction motors and legacy DC drives
- High-duty process lines where brush replacement is routine
- Service shops doing armature repair for OEMs
If you are already:
- Tracking brush wear
- Watching film colour
- Logging undercut cycles
…then a portable commutator resurfacer is just another controlled variable, not an “extra operation”.
3. Types of commutator resurfacers you actually see in shops
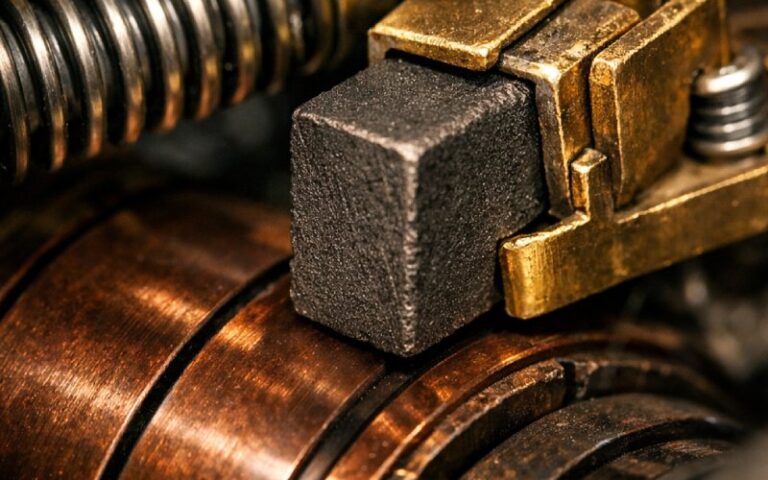
3.1 Stones and hand blocks
Basic commutator resurfacing stones. Simple blocks of abrasive, sometimes used bare, sometimes in a small holder.
Use when:
- Motor is on the bench or in a small frame.
- You just need to knock down ridges or contamination.
- You’re seating new brushes to an existing radius.
Many catalogs list grades like 46 (rough), 90 (smooth), 120 (extra smooth), 220 (polished) and even 320 for final seating.
3.2 Handle-mounted commutator resurfacers
Stone plus handle. Angled or straight. These exist for one reason: reach.
- You work on a live system (mechanically live, electrically isolated).
- No rotor removal.
- You need the stone to ride the commutator while you stay clear of rotating parts.
Again, grit ranges follow the same logic as bare stones; the handle just makes it usable in cramped cabinets.
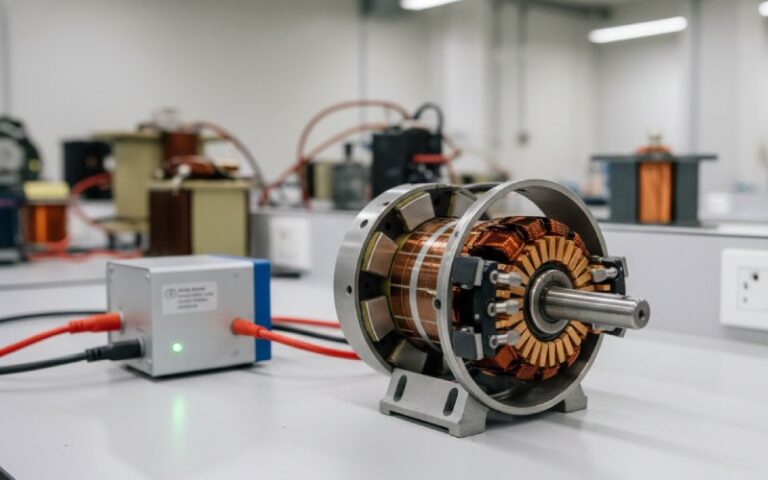
3.3 Portable in-place commutator resurfacers
Now we’re talking tools that clamp onto brush rigging or arms. A carriage travels on guides (often nylon V-blocks) across the full face while the motor turns slowly. Compact units are usually low-profile for confined spaces and use replaceable stones.
These are the workhorses for:
- Large DC motors on site
- Slip rings on generators that nobody wants to strip down
- Navy / heavy industry maintenance contracts that specify in-place refinishing
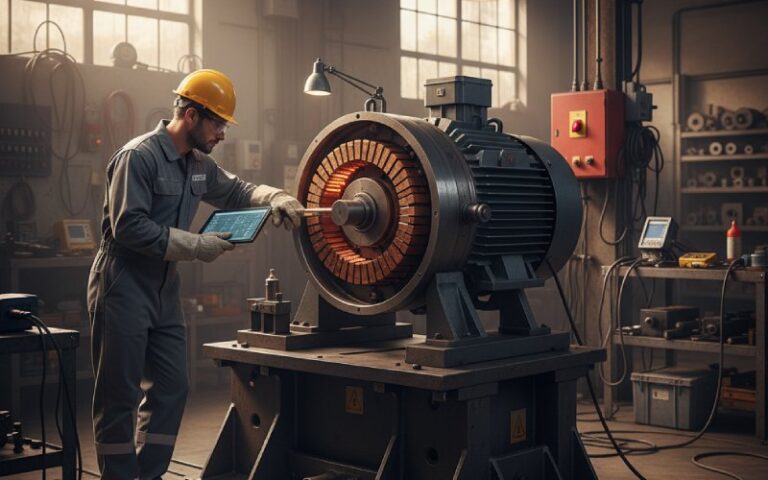
3.4 Turning/grinding machines and multi-process rigs
Dedicated commutator turning and grinding machines restore geometry when the surface is eccentric, conical or heavily grooved. They remove material, then you finish with stones.
Multi-process repair machines combine turning, undercutting and chamfering for armatures in service shops. They’re for volume work: rail fleets, traction motors, high-throughput rewind shops.
4. Resurfacing options – quick comparison table
| Method | Typical Use Case | Skill Level | Capex | Downtime Impact | Notes |
|---|---|---|---|---|---|
| Hand stone only | Small motors, bench work, light scoring | Low | Very low | Medium (motor removed) | Good for cleaning and light film work. |
| Handle-mounted resurfacer | In-situ cleaning on medium motors | Low–Med | Low | Low–Medium | Good control, no dismantling. |
| Portable in-place resurfacer (clamp) | Large DC motors / slip rings, grooves and flats | Medium | Medium | Low (no disassembly) | Best balance for field maintenance contracts. |
| Dedicated turning / grinding machine | Heavy wear, out-of-round, recondition before rewind | High | High | High (shop operation) | Restores geometry but reduces diameter. |
| Multi-process repair machine | Service shops handling fleets of armatures | High | Very high | Planned shop downtime | Integrates turning, undercutting, chamfering. |
Use this table as internal SEO anchor too. Each row can link to a product page or category (hand stones, portable commutator resurfacers, etc.).
5. Process rules the manuals often bury in the fine print
You’ve read AR100 and similar. Here’s the stuff that actually decides whether resurfacing helps or hurts.
5.1 Stone sequence and surface speed
Grinding guidance from manufacturers like Martindale is pretty consistent:
- Target commutator surface speed around 2,000 ft/min for stone work.
- Burned or badly grooved surfaces: start with a coarse stone grade, then move to a fine stone.
- Moderately worn: a medium stone is often enough.
- Always finish with a finer grade to stabilise brush contact.
The point is not cosmetic. It’s about:
- Getting a uniform film back
- Keeping brush temperature reasonable
- Avoiding high local current density on ridges
5.2 When turning is justified
Sometimes stones are not enough. Typical triggers:
- Out-of-round commutator that won’t clean up with stones
- Pockets between bars
- One section recessed after long single-direction loading
A commutator specialist site recommends, for turning operations:
- Surface speed not exceeding roughly 1.5 m/s
- Depth of cut and feed per revolution limited to about 0.1 mm
- No axial movement during turning
After that, you still stone the surface. Turning fixes geometry; stones fix the interface.
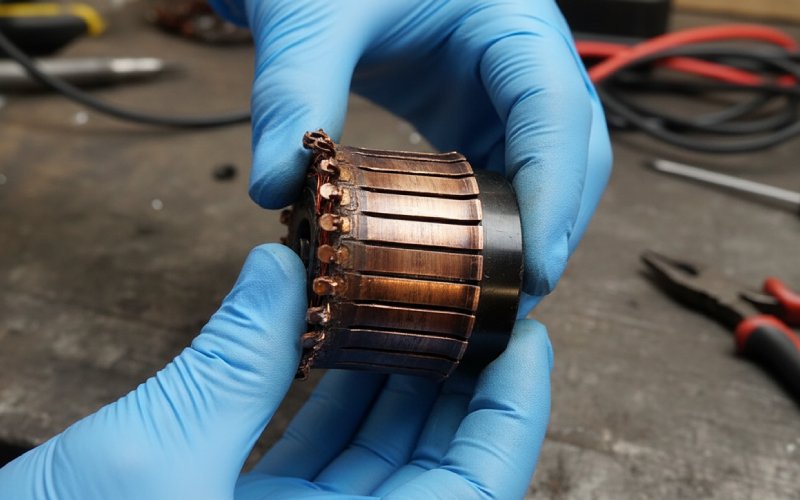
5.3 Mica and undercutting
You know the basic rule: if mica stands proud of the copper, brushes bounce and arc.
- After heavy resurfacing or turning, mill the mica to about 1–1.5 mm depth where required.
- If mica is still recessed relative to the bars, you don’t undercut “just because”.
Many older texts treat undercutting as automatic. Field reality is mixed; large DC machines still often get undercut as part of major work, whereas some smaller motors use separator materials that wear back with the copper.
5.4 Abrasive choice: stones vs “whatever is on the bench”
One of the fastest ways to ruin a resurfacing job: generic emery cloth.
Maintenance practitioners point out that aluminum-oxide abrasives can embed in soft copper bars and lead to arcing plus rapid brush wear.
Better options:
- Purpose-made commutator stones
- Non-embedded abrasive papers (woodworking “flint” type) where suitable
- Dedicated commutator cleaner blocks
Some OEMs still mention fine emery in their legacy docs, others explicitly warn against it. Your site standard should be clear and boring on this point.
5.5 After resurfacing: it’s not done until brushes are reseated
Once you change the commutator profile, the old brush face no longer matches.
Manufacturers recommend reseating brushes with special seating stones so that the contact pattern matches the new radius instead of the old grooves.
Skipping this step looks fine on an unloaded spin test, then shows up later as local heating and streaking.
6. When to resurface vs just replace or rewind
You don’t want to resurface every minor mark. But waiting too long turns resurfacing into cosmetic surgery on a patient that needs a transplant.
A practical rule-set many teams use:
1. Clean only
- Slight film variation but smooth surface
- No measurable out-of-round
- Brush wear patterns normal
Use mild grade stones or cleaners. No geometry change.
2. Resurface (stones or in-place commutator resurfacer)
Do this when:
- Surface has shallow ridges, light flats, or minor pitting
- Deep grooves are starting, but copper is still healthy
- Slip ring or commutator shows uneven film tied to load cycles
Carbon brush suppliers point out that deep grooves or heavy wear should be corrected by resurfacing or replacement before installing new brushes, otherwise the new set sacrifices itself trying to “machine” the commutator.
3. Turn + stone
Reserve full turning for:
- Out-of-round beyond your internal limit
- Severe scoring, bar‐to-bar height differences
- Diameter still above your minimum but getting close
Follow the turning limits mentioned earlier (speed, depth, feed) and always finish with stones.
4. Rewind / replacement
At some point:
- Diameter below minimum
- Bars cracked, loose, or mechanically damaged
- Insulation system at end of life
At that point, your commutator resurfacer is only a diagnostic aid, not the repair.
7. Building a commutator resurfacing routine into preventive maintenance
Some sites treat resurfacing as a one-off rescue. Better to handle it as a controlled maintenance task.
Example maintenance loop:
- Regular commutator inspection
- Check film colour and uniformity.
- Look for localized bar burning, skid marks, streaking.
- Note any banding connected to operating duty.
- Brush system review
- Spring pressure within spec.
- Holders clean and free-moving.
- Brush grade still aligned with duty.
- Resurfacing decision
- Light marks → cleaning stone or commutator cleaner.
- Moderate wear → in-place commutator resurfacer with appropriate grit sequence.
- Severe wear → plan turning plus undercut where needed.
- Post-work verification
- Reseat brushes.
- Slow-roll current test if your standard includes it.
- Record diameter, runout and photos in the motor history.
Standards such as ANSI/EASA AR100 from EASA give a formal framework around these steps; your resurfacing procedure just plugs into that bigger repair process. ([easa.com][10])

8. What to look for when buying a commutator resurfacer (B2B checklist)
Use this as a spec sheet when you compare suppliers or justify a purchase.
Tool type
- Hand stones only
- Handle-mounted commutator resurfacers
- Portable in-place resurfacer (clamp-on)
- Machine-mounted grinder / turning rig
Compatibility
- Maximum and minimum commutator/slip ring diameter
- Clearance envelope for your typical frames
- Mounting method: brush rigging, bracket, custom adapter
Stone system
- Available grits: at least rough, medium, fine, polish
- Stone size suitable for your commutator widths
- Simple process to replace stones on site
Real-world kits often bundle stones from 46 through 320 grit for cleaning, smoothing, polishing and seating in one case.
Carriage and feed
- Smooth travel across the full face (nylon V-blocks or similar)
- Manual or geared feed
- Ability to control overlap so you don’t create a step at the end of travel
Ergonomics and safety
- Handle length and angle that keep operators away from rotating parts
- Weight and balance suited for overhead or cramped installations
- Clear access for guarding and lock-out/tag-out procedures
Service and spares
- Availability of spare stones, holders, V-blocks
- Documentation that actually shows setup for your frame sizes
- Alignment procedures that can be followed by technicians at 2 a.m. without an engineer on site
Turn that checklist into structured data on your product page and schema markup around the term “commutator resurfacer” to help search engines identify the product role correctly.
9. FAQ: Practical questions about commutator resurfacers
Q1. When should I move from hand stones to a portable in-place commutator resurfacer?
Once motors stay in place for maintenance and removing the rotor becomes a project on its own:
Large DC motors in cranes, mills, rail, mining
Slip rings on generators with tight access
Any machine where rotor removal needs rigging or outage approval
If you keep seeing the same commutators come back with mid-level damage, a clamp-on commutator resurfacer usually pays for itself in avoided disassembly.
Q2. What grit sequence works for a rough commutator?
Typical practical sequence (adjust to your standards and stone brand):
Rough or coarse stone to remove ridges and high spots (around 46 grit).
Medium stone to smooth the grinding pattern.
Fine stone to get the contact band you want.
If fitting new brushes, a very fine or dedicated seating stone over the brush footprint.
The key is small passes and enough time. Don’t try to “save time” with an aggressive grit that leaves deep scratches the brushes must later machine away.
Q3. How many times can I refinish before the commutator is too small?
There isn’t a universal count. Use:
OEM minimum diameter (or your internal limit)
Your own logs of diameter after each major job
Visual condition of bars and risers
If you are already turning to remove deep damage, life is mostly determined by how much copper remains and what your standard says about bar integrity and heating. Stones alone take off far less material but still add up over many cycles.
Q4. Do I always need to undercut after resurfacing?
No.
If mica is still slightly below the bar surface, and manufacturers specify self-receding separators, you may not undercut.
If mica protrudes, or turning has brought it almost flush, you should undercut to the depth given in your standard (often about 1–1.5 mm) and chamfer as required.
What matters is not the rule itself but brush behaviour: no bounce, no streaking, film stable.
Q5. Can I just use emery cloth or generic sandpaper instead of a commutator resurfacer stone?
You can; you may not like the result.
Practical experience from industrial maintenance shows that aluminium-oxide abrasive (typical of many emery products) can embed in copper bars and accelerate arcing and brush wear.
Purpose-made commutator resurfacer stones are engineered to avoid that, and they come in predictable grades. For B2B buyers, the cost difference is negligible compared to labour, outage and brush life.
Q6. Where does a commutator resurfacer fit into my overall motor repair standard?
Think of it as one tool inside your existing framework:
Incoming inspection → measure, test, document
Decide: clean, resurface, turn, rewind
Apply commutator resurfacing as the lowest-impact option that still addresses the defect
Verify: runout, film, brush contact, temperature
Standards like ANSI/EASA AR100 and your own procedures remain the controlling documents; the commutator resurfacer just gives your technicians a more precise way to meet them.